12 X 12 Purse With Love Notes
This adorable project was shown to us at Regionals in Philadelphia in September.
I couldn’t find any instructions online, so I made these up out of my cryptic notes from the Seminar… 🙂
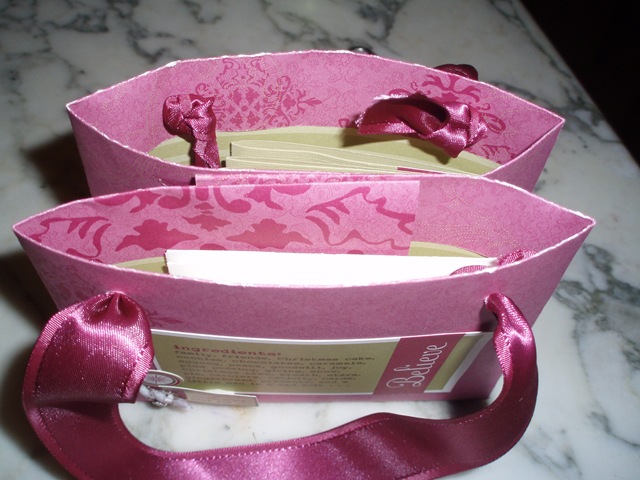
Here is a finished purse with 8 love notes and envelopes:

And here is the template for folding the paper for the purse:
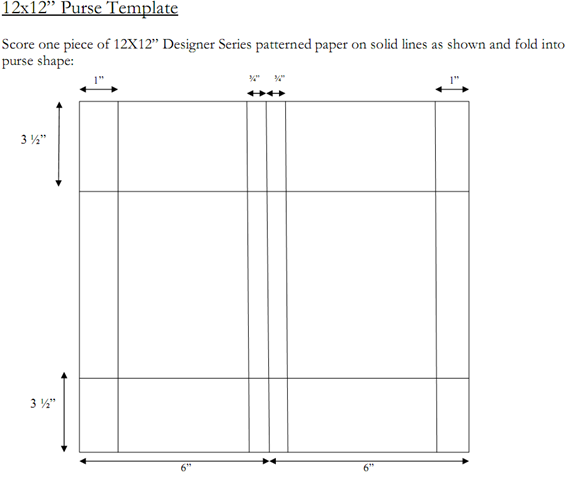
Essentially, you begin with a 12X12 piece of designer paper and score two ends at 1″ and the other ends at 3 1/2″. Fold the 1″ sides in first for a clean edge:
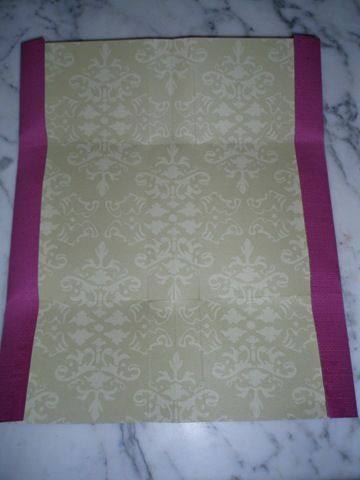
Then fold in the 3 1/2″ sides:
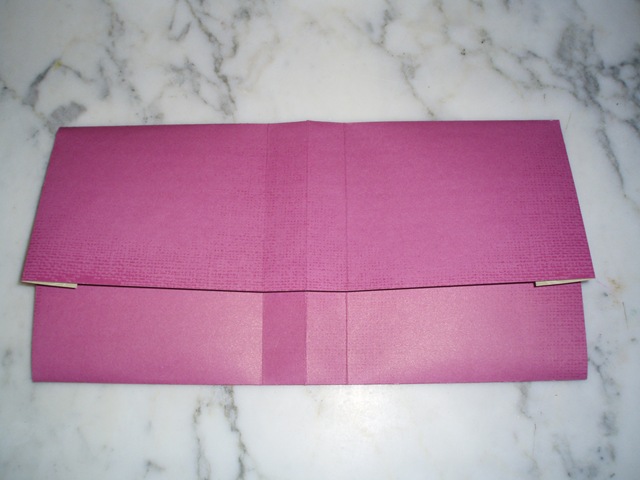
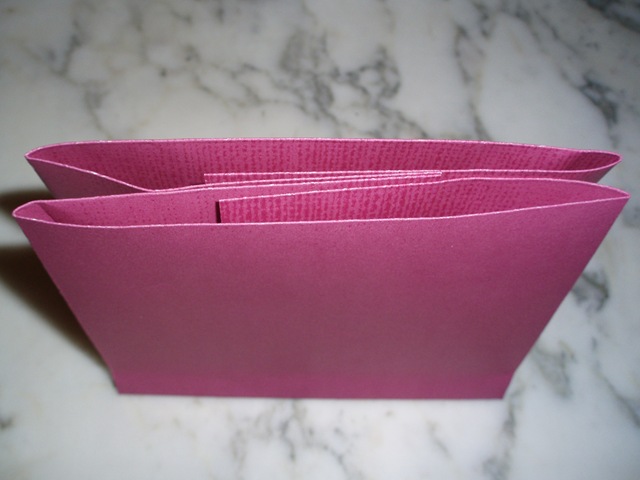
Next, fold in half to form the purse (all the other folds will be on the inside):
For a flat bottom, score out about 3/4 inch from the center fold on each side and fold:

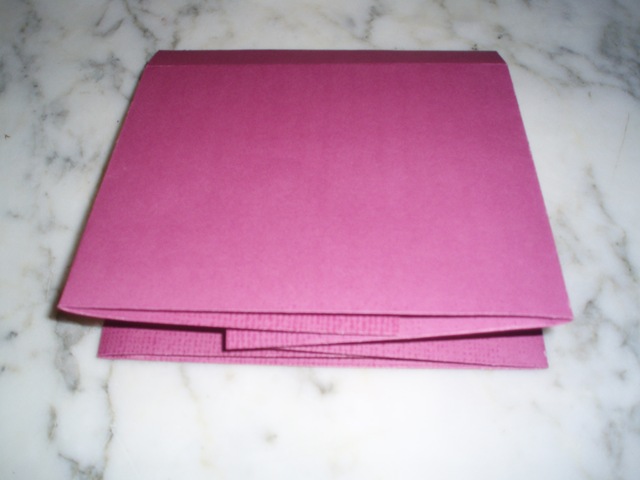
This give you two pockets on the top of the purse:
You can adhere the TOP of the inside (not inside the pockets – adhere the folded sides) to keep the purse together. If you go too low with your adhesive, you’ll ruin the shape of the purse.
At this point, you can add a handle with ribbon, embellish the front and place your love notes inside:
To create the love notes, cut a 12X12 piece of cardstock into eight 3X6 pieces. Fold each in half for a sweet little card, easy to decorate and embellish. I used the Hand Selected Accents and Elements from the Holiday Mini catalog.
Have fun!
Thank you so much for the neat inst. I can’t wait to try this. The purse you made is soooo cute. Diane
Thank you so much ~ what a wonderful project.. yours look great!
thanks for sharing. Pam