0

Some More Stampin’ Projects

Posted by Kathy Torrence on May 31, 2007 in Crafts, Other items, Scrapbooks

At my Stampin’ Up! retirement party last night, I had two make-and-take projects for my guests.

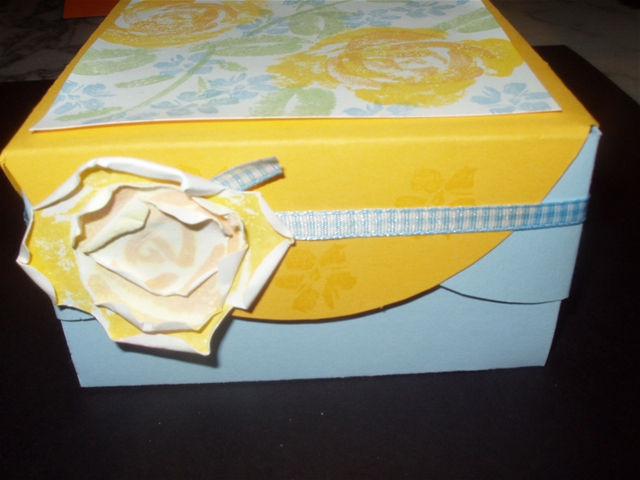
One was this scallop box:

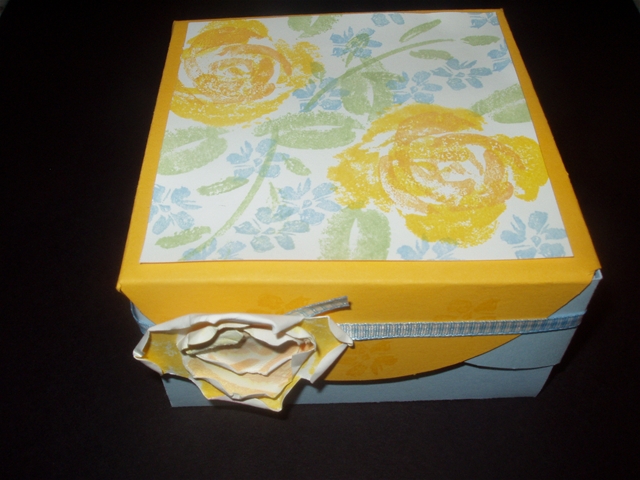
Instructions can be found on SplitCoastStampers resources page (a link to SCS is on the right of this page). I used Roses in Winter – another great set that is retiring – what am I going to stamp with in July!?!?!

I also showed how to include a little three dimensional rose on the side of the box. You just stamp the three different size rose images (once each) onto white cardstock and cut out the images. Then you spritz them with water, roll the edges and adhere them to each other. You can also add in a few more layers if you want a fuller rose.

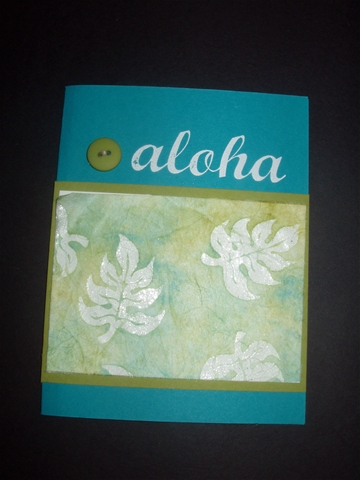
The other project was a little scrapbook/photo album made from Stampin’ Up!’s clear envelopes:

I used Sparkling Summer (need I say it again? RETIRING!) and A is for Adorable to stamp the cover and added a strip of Au Chocolate and some ribbons as a binding.

The inside is a stack of clear envelopes adhered to each other by the tabs and attached to the two covers with the ribbon bindings:

I just threw in some photos of my family at the beach, but I could change them out since the edge of the envelope is accessible.

This inspired me to create another little scrapbook for our church secretary who is retiring this week. My pastor gave me some notecards (just 3X5 index cards) on which parishioners had written down messages for the retiring secretary. She asked me to put them together into a book and I thought I would use the same basic idea.

I took 2 pieces of chipboard and adhered some patterned paper to the fronts and backs. I cut the chipboard pieces just slightly larger than the width of two sets of envelopes. I added a chipboard monogram colored with Chocolate Chip ink to the cover and used ribbons to keep it together. Here’s the cover:

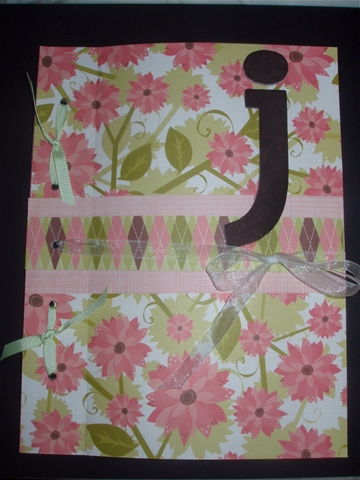
The paper is from Scrapbook Walls, I think.

Then I took the notecards and matted them onto standard card-sized pieces of Cameo Coral and Old Olive cardstock. I added just a strip of patterned paper to each one to make it a bit more detailed, but still keep it simple.

I also stamped the notecards with Mixed Bouquet in Certainly Celery, Cameo Coral, Old Olive and Chocolate Chip to make them pretty.

For those notecards with writing on the back as well, I folded the notecards about 1/4 inch from the left side and then adhered them as a ‘hinge’ inside the page so that the back is accessible.

I think this turned out really well – I hope she likes it!

 
0

Nutty Dog

Posted by Kathy Torrence on May 31, 2007 in Our Goldendoodle Puppies

Here’s how Daisy took a nap this afternoon – her face is wet because she was sleeping with her head in her water bowl before she just rolled over and positioned herself like this:  

I can’t blame her – it was HOT today! 

 
0

Mulberry Batik Samples

Posted by Kathy Torrence on May 31, 2007 in Cards, Crafts, Scrapbooks

I had a Stampin’ Up! retirement party last night where I actually, gulp….sold some of my older retired stamp sets!  I had such a hard time letting them go – but at least I know that they’ll be going to good homes. 🙂

One of the techniques I demonstrated at the party was a mulberry batik technique shown in last month’s Stampin’ Success.  In fact, I CASEd a card right from the magazine – I was having a stressed-out-with-too-much-to-do-to-be-original moment (but it quickly passed).  Here’s the card I copied (isn’t that why they send us that magazine, anyway?):

The technique starts with white mulberry paper.  The image is stamped using Versamark then heat-embossed with clear embossing powder.  After spritzing the mulberry paper with water, ink was  applied with a sponge.    The embossed images resist the ink and end up end up sheer and translucent. 

According to SU!, you should then take an iron and heat the embossed image between copy paper until the embossing powder melts and sticks to the paper.  But from what I’ve heard on SCS, this part of the technique doesn’t work so well, so I skipped it and still got the effect I was looking for.

The above card uses Taken with Teal and Old Olive – sounds like an unappetizing color combo until you see them together.  And there is white cardstock behind the mulberry to make the embossed images really pop.

So after I got out of my panic, I tried an original card on my own using Balmy Breezes  (I can’t believe that set is retiring!!!!):

This time I used the direct-to-paper technique to apply Old Olive ink over the mulberry paper,  I also wet and tore the edges and put caramel cardstock behind the palm tree image instead of white.

And I did an original little 6X6 scrapbook page too:

I used Petal Prints (another of my favorite sets that is retiring!) and A is For Adorable.  And this time, I used re-inkers with an aquapainter to color in the flower image.  I have a white circle of cardstock behind the mulberry paper so that you can see the flower outline on the finished page.

Copyright © 2024 Flying By the Seat of My Pants All rights reserved. Theme by Laptop Geek.