Posted by Kathy Torrence on Jul 12, 2008 in
Cards,
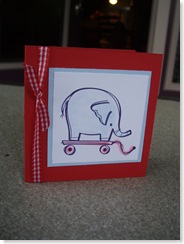
Crafts My six-year-old daughter Emily made the BEST SpongeBob Squarepants birthday card for Matt….I just had to share!

I helped her cut the cardstock and punch the holes…but other than that, Emily made one this all by herself.
Looks like we have another paper crafter in our family!
Posted by Kathy Torrence on Jul 11, 2008 in
Crafts,
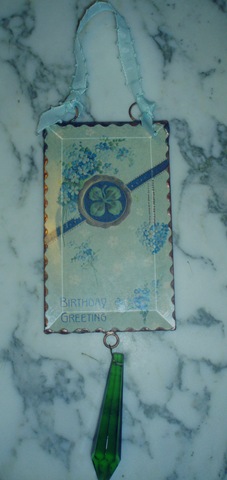
Soldered Art I made another birthday gift using a vintage postcard the other day for Andrew’s step-mom Clare:
I liked the colors in this card – the cool blues and greens…I also added a green crystal drop on the bottom for even a little more color.
I used the silver scallop-edge tape with some copper patina – there’s a little bit of copper in the postcard image and I wanted to pick that up.
I wish I would have added some glitter to the image before I put it under the beveled glass…oh well. It’s pretty anyway, don’t you think?
Posted by Kathy Torrence on Jul 8, 2008 in
Cards,
Crafts There’s nothing like procrastination when it comes to kids’ birthday parties and this year is no different. Matt’s birthday is this Friday and I still hadn’t planned anything.
I decided to just make some sort of a decision and throw a small party this Sunday afternoon at Lake Kandle.
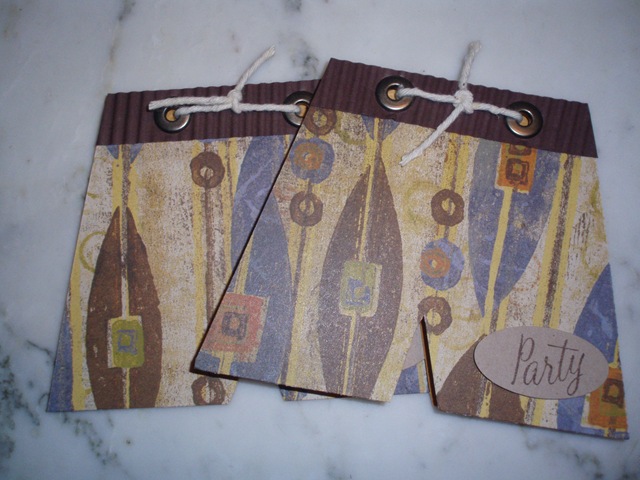
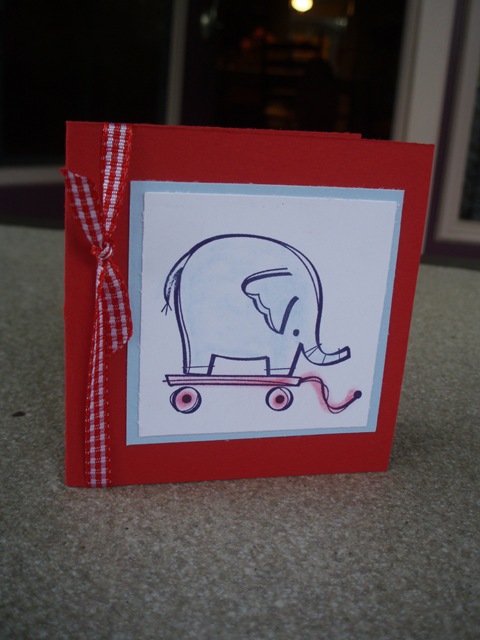
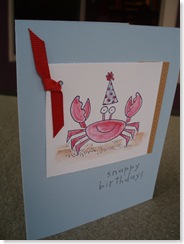
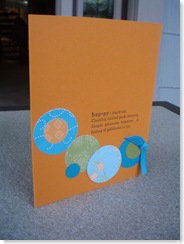
Of course, I had no invitations since I waited so long to make a decision, so I needed something quick and easy. I did a quick search on SplitcoastStampers and was inspired by these cute board shorts by TxCardMaker. Here’s my version:
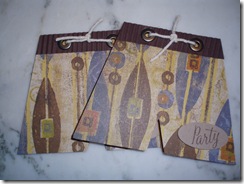
I started with a piece of cardstock in the standard 5 1/2 X 4 1/4 folded size. Then I marked about 1 inch from the edge of each top fold and cut a diagonal line with my paper cutter.
Then I adhered some patterned paper from Basic Grey on the front of the card and trimmed it from behind with my paper trimmer. I cut out the middle of the shorts with a pair of scissors and added some eyelets and twine for the tie. I also ran the top piece of cardstock through a crimper for an “elastic” look.
Not bad for last minute…
Posted by Kathy Torrence on Jun 16, 2008 in
Crafts,
Soldered Art I just realized that tomorrow is Emily’s last dance class and I had no gift for her dance teacher!
So I took the chance to use a little creativity…
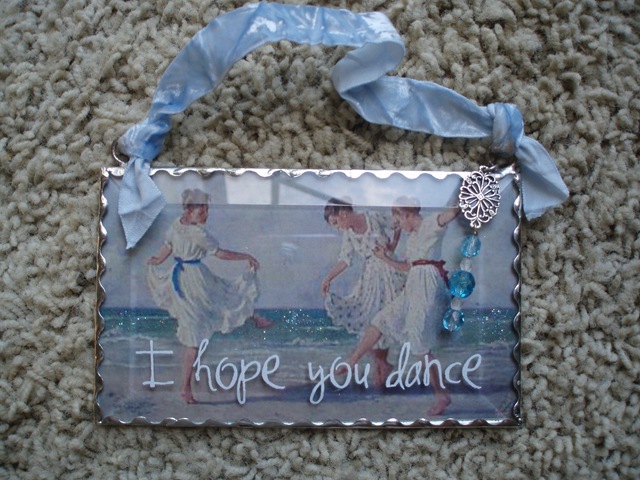
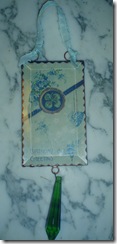
I used a vintage postcard image of some young girls dancing on the beach and made this:

I added some Dazzling Diamonds to the water and put it behind beveled glass, taping the edges with some scallped-edge tape and soldering over the tape.
I also added some rub-ons right on the glass for the sentiment. This took longer than I thought – the first ones I used looked awful because they had a clear border around them – I had to remove them with clear tape. These were not my first font choice, but the Making Memories rub-ons look SO much better on glass (there’s no border – just clean letters).
I added a velvet ribbon, a piece of filigree and some beads. This could be a sweet Christmas ornament or just something to hang on a hook.
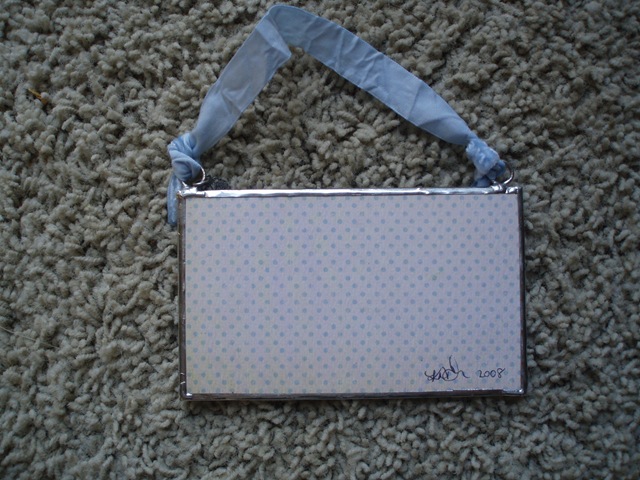
I only used one piece of glass – the back is patterned paper:
This makes the ornament much lighter (but is a little harder to tape).
Not bad for last-minute – I hope she likes it!
Posted by Kathy Torrence on Jun 14, 2008 in
Crafts,
Scrapbooks,
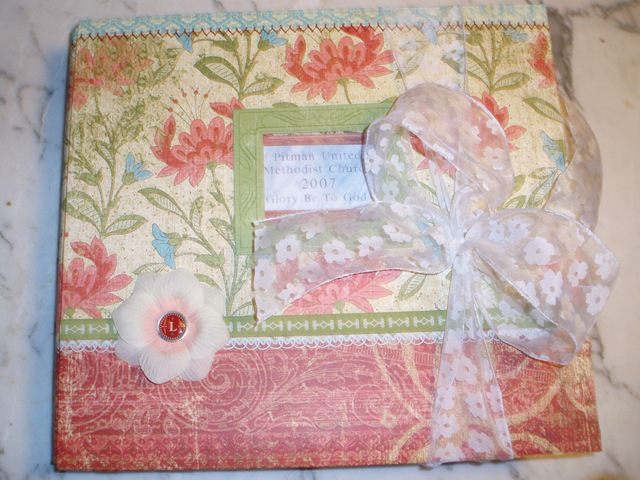
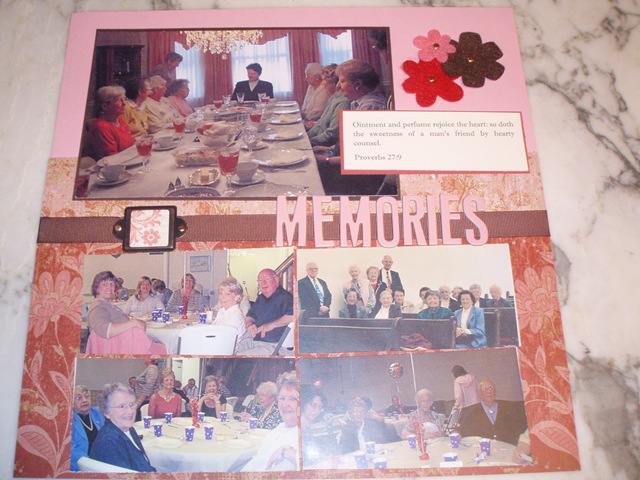
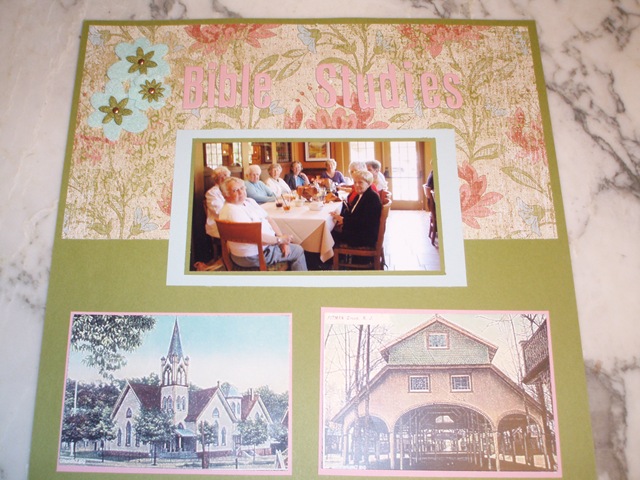
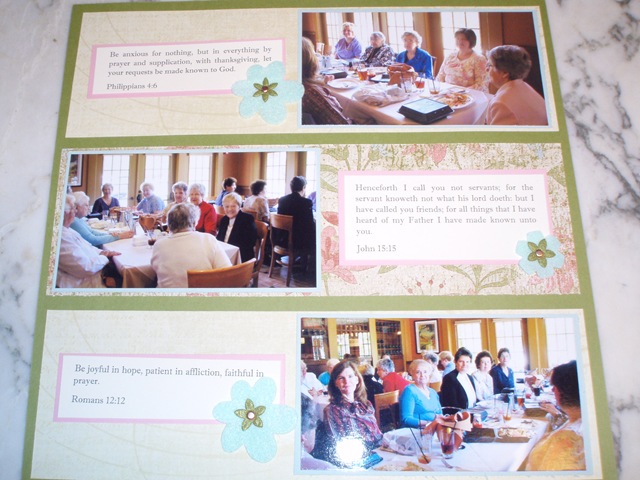
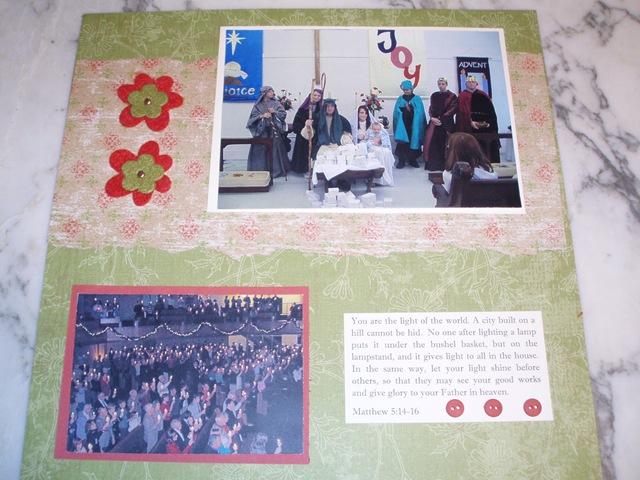
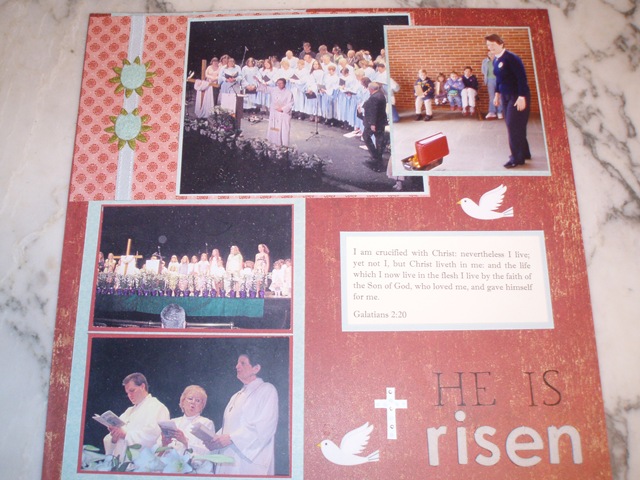
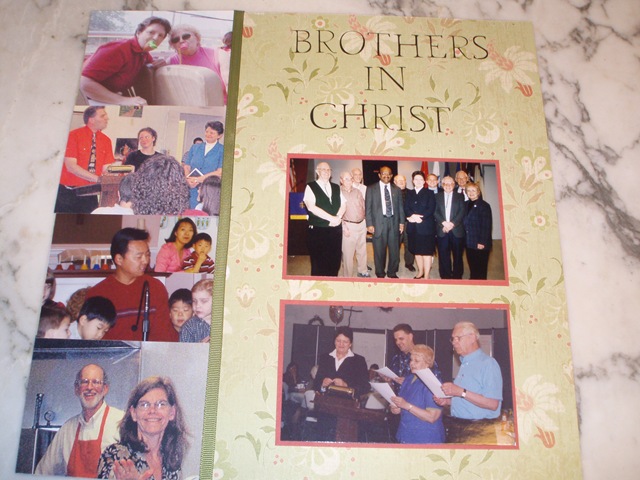
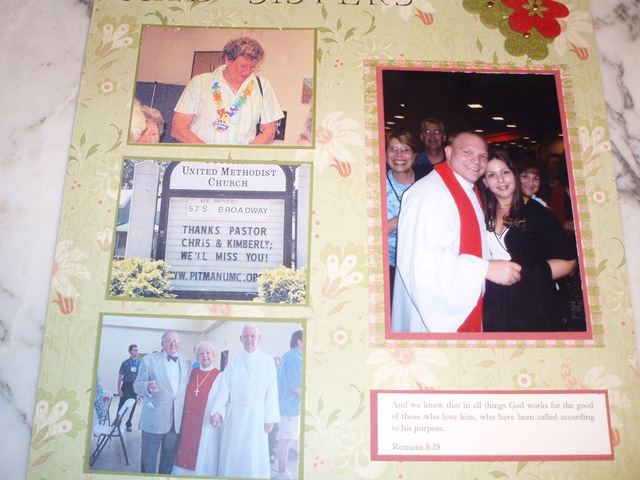
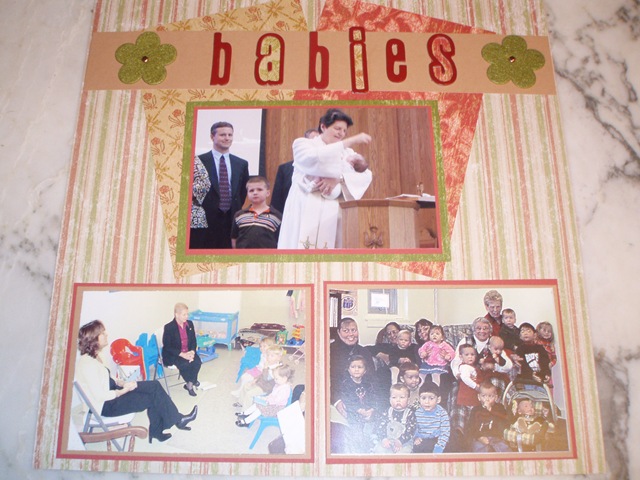
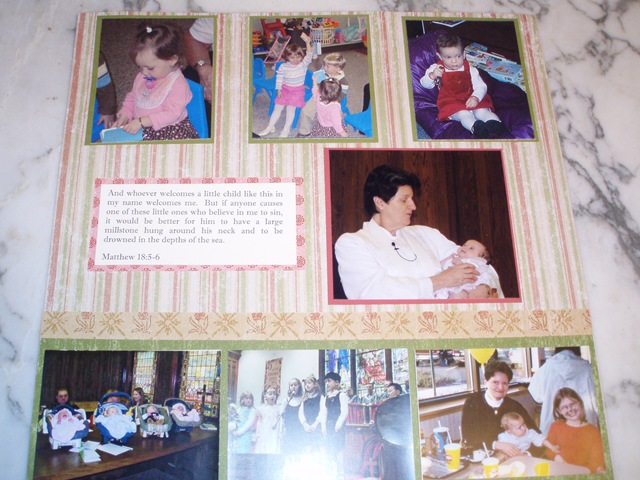
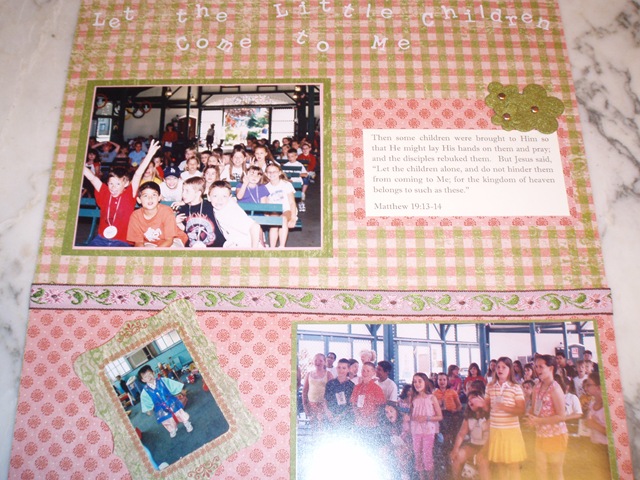
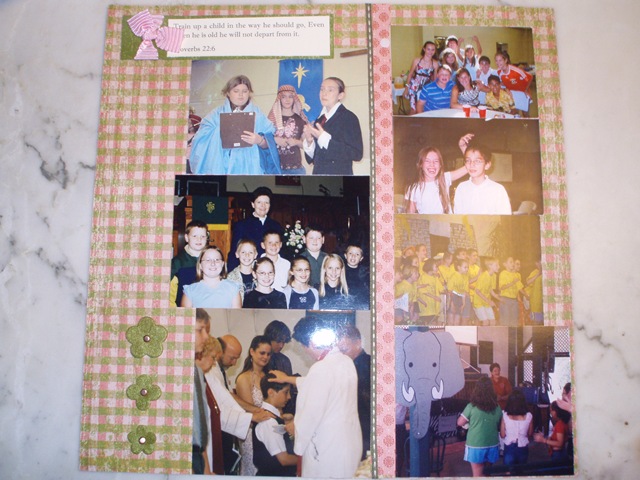
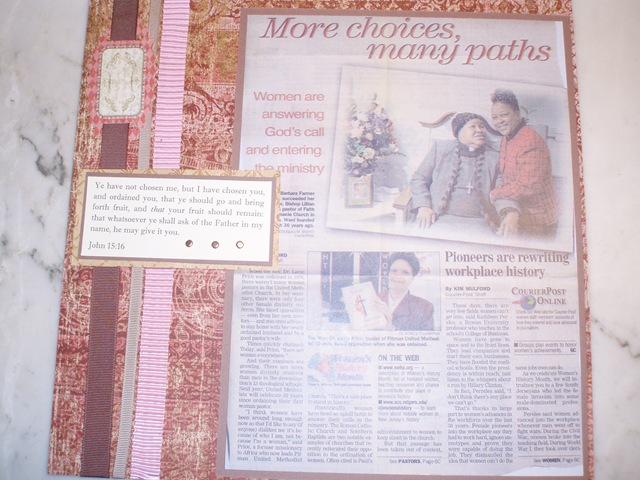
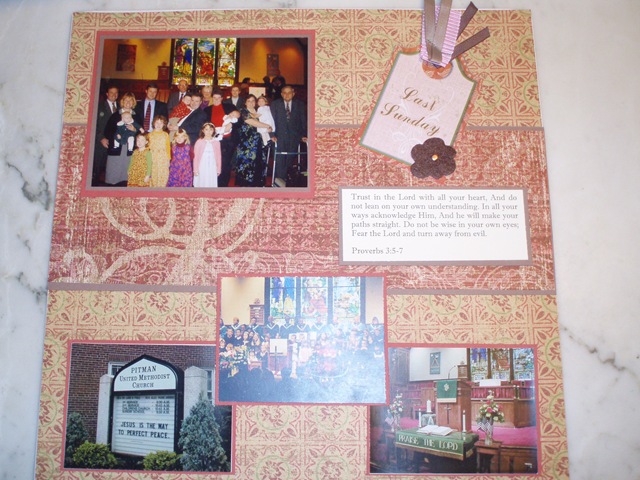
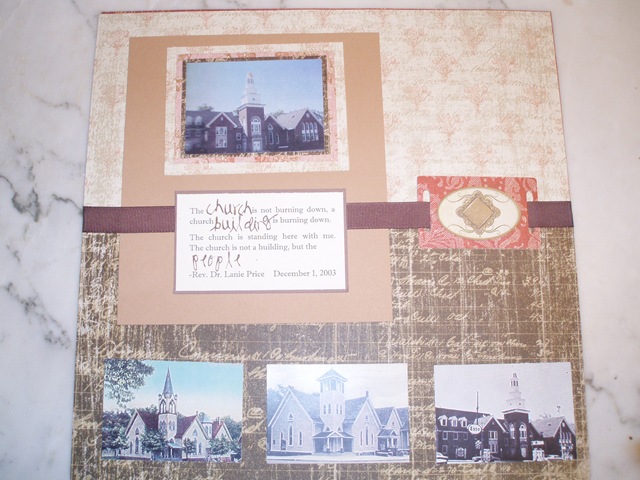
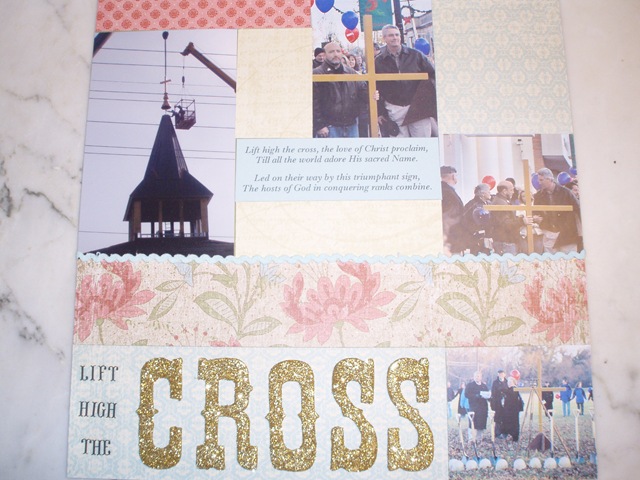
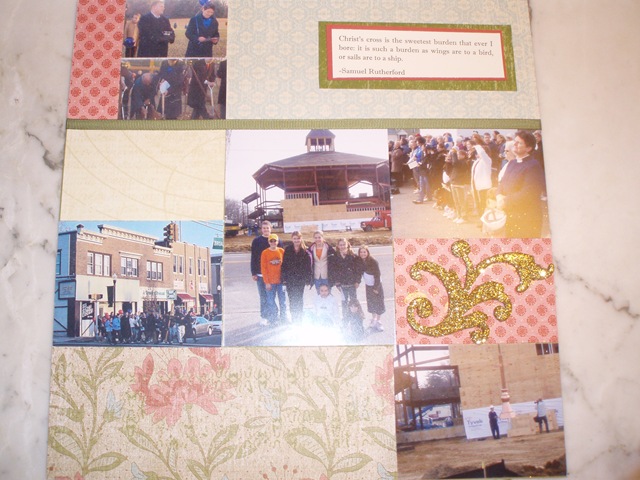
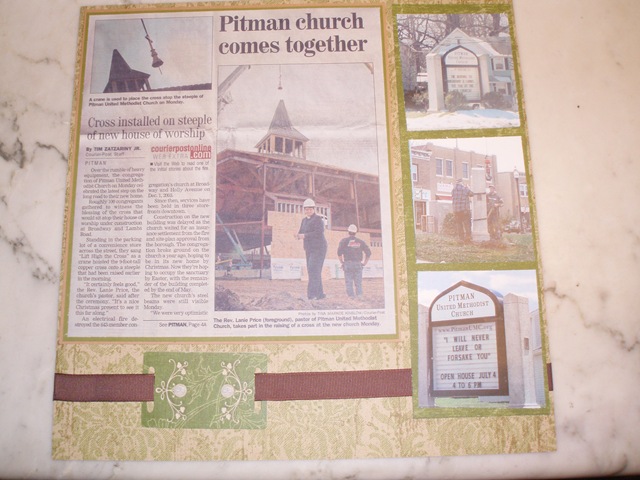
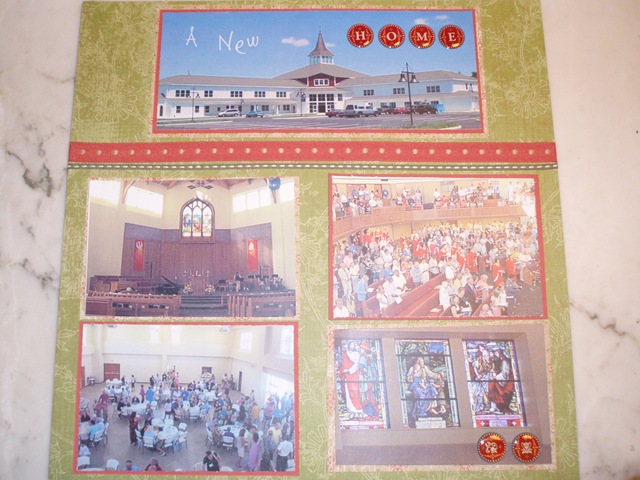
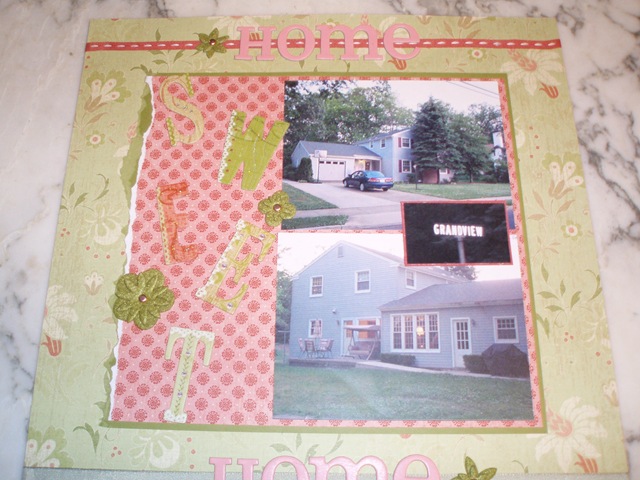
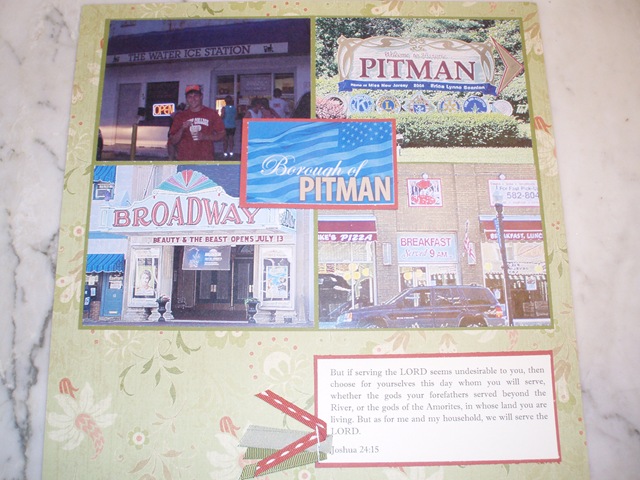
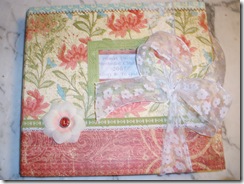
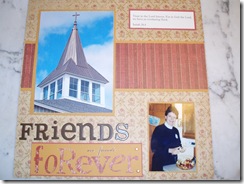
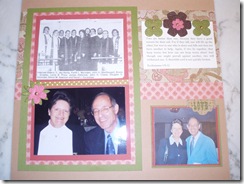
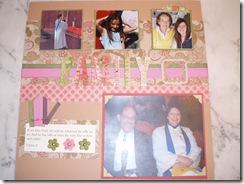
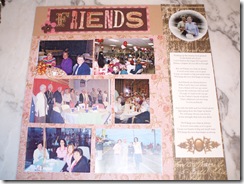
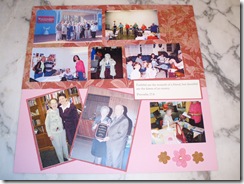
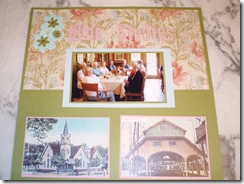
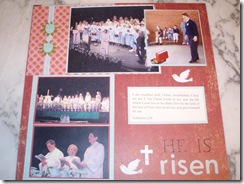
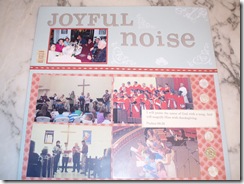
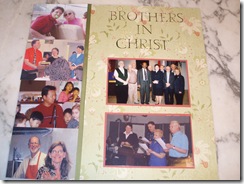
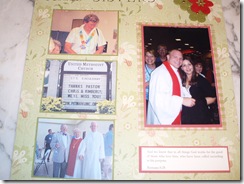
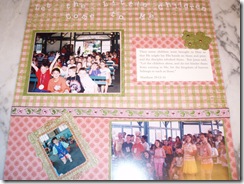
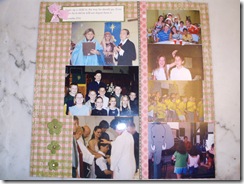
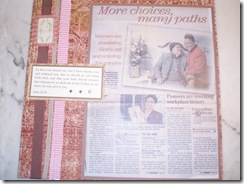
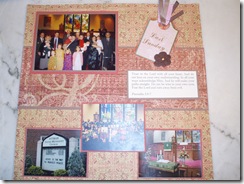
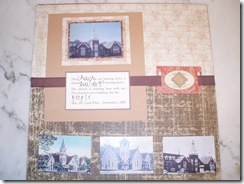
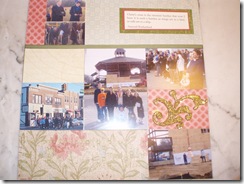
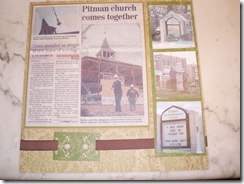
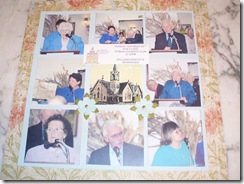
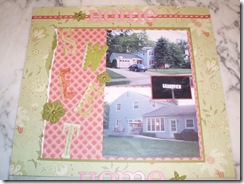
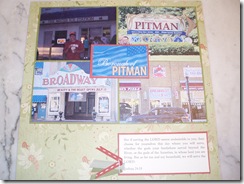
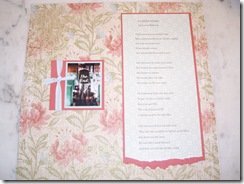
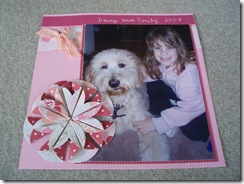
Today's Photo One of my largest and most overwhelming projects this month was to make a scrapbook for our pastor, Dr. Rev. Lanie Price, who is leaving us in a few weeks to go to another church.
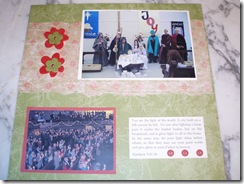
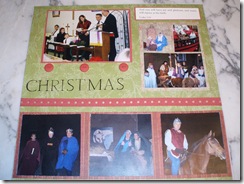
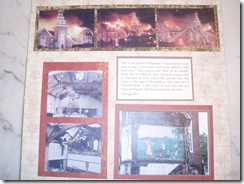
Our church has been through a lot in the last few years including a church fire and rebuilding project, so there was a lot to include in the scrapbook.
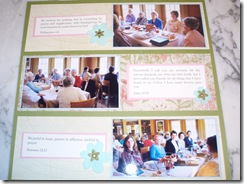
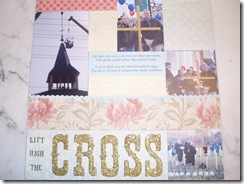
In order to get the book completed, I had to let go of my OCD side and keep the pages simple – if I agonized over each embellishment on every single page, I never would have finished. Instead of traditional journaling, I included one more scripture verses on each page that reflected the subject.
Still, this book was an enormous amount of work in a small period of time – and my messy house proves where all of my attention has been focused lately!
I will be presenting Lanie with the book tonight – and will also be making a speech to the 200+ people who will be attending the Celebration Service – yikes! But I think I have a good little speech and I’m happy with the book turned out – I’ll just be relieved when the speech is over and the book is out of my hands.
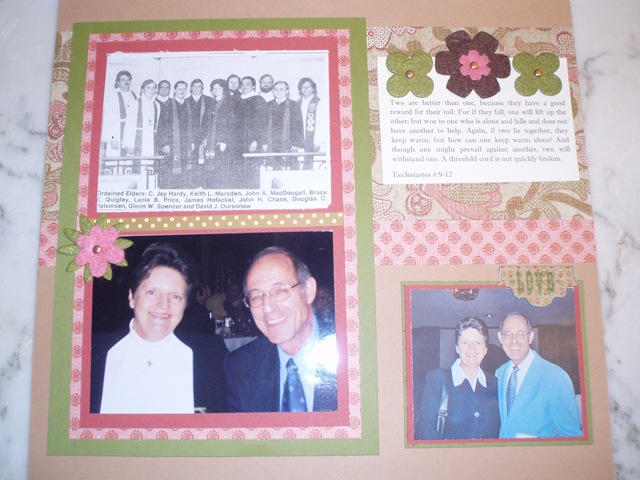
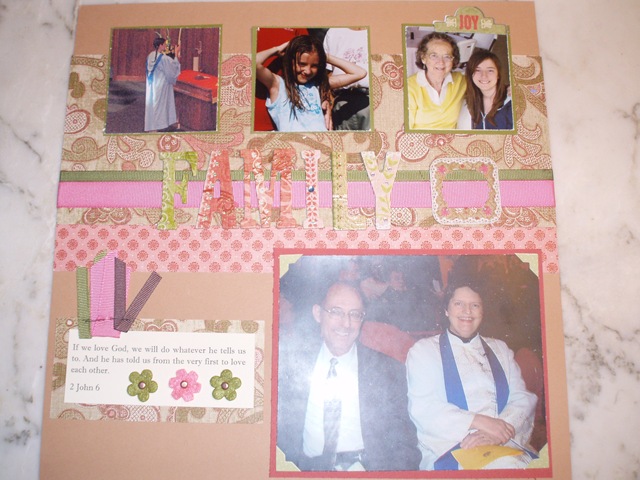
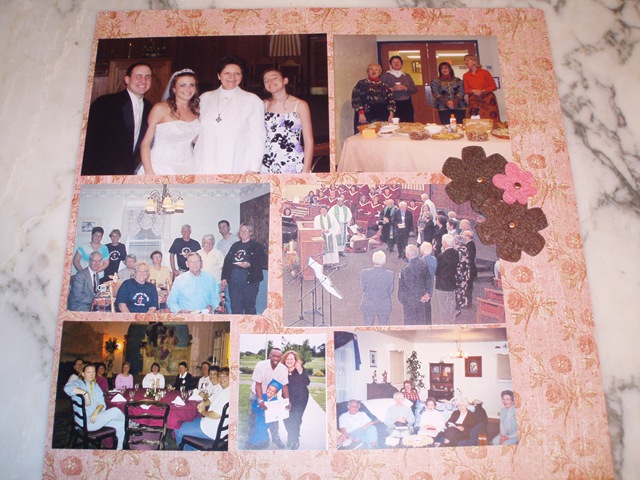
I thought I’d include photos of the pages of the book here on my blog for members of the church to view (since she’ll be taking the book with her). There were also a few additional pages not included here that contained letters and cards given by members of the congregation.


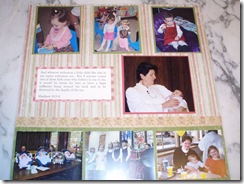

Just as a point of reference, I started the book at our last Scrapbooking Ministry meeting on May 31st and completed the book yesterday. Can you see why I haven’t had time to post in a while? 🙂
I did make it a bit easier on myself by purchasing coordinating products from the K&Co K-Ology “Hannah” collection. I bought one of the “Scrap Pad to Go” paper pads and actually used the whole thing and had to buy another.
I think the result was well worth it – I hope that this book will help Lanie to remember her years at PUMC.
Posted by Kathy Torrence on May 28, 2008 in
Crafts,
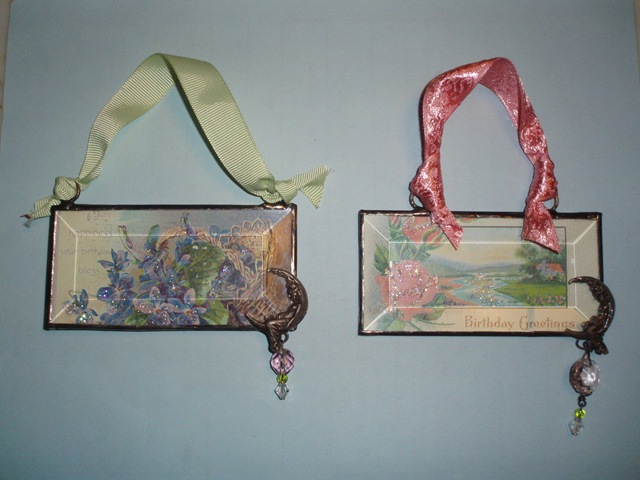
Soldered Art While we were in Cape May, I came across some pretty glass ornaments in a gift shop. They were made with beveled glass with soldered edges and each had a little collage inside – and they were selling for $45 and up! I was inspired to be creative…
I realized that it had been a long time since I played with my soldering iron and when I heard that two of my co-workers had birthdays this week, I realized that I had the perfect excuse to get started!
I made up these little “Birthday Cards Under Glass” for them:
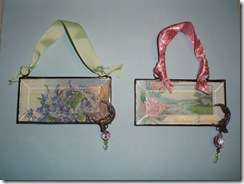
I took some vintage birthday postcards and scanned them and printed them onto white cardstock with my fancy new scanner and color laser printer that I received for my birthday. I added some glitter and put them behind a piece of beveled glass.
I tried something new with these – instead of sandwiching each collage between two pieces of glass, I taped the front piece of glass directly to a piece of patterned paper on the back (inspired by the pieces I saw in Cape May). This makes them much lighter – especially for larger pieces like these.
I added some jump rings and some lady-in-the-moon charms and beads, tied a pretty ribbon…and now I have some pretty little gifts!
Happy birthday Sybil and Shanee!
Posted by Kathy Torrence on May 9, 2008 in
Cards,
Crafts,
Other items I think I mentioned that I did a Stampin’ Up! workshop for the first time in a long time a few weeks ago – I thought I’d share some of the projects with you.
I made up some simple demos and make-and-takes for the workshop – and I’m ashamed to say that I pretty much CASEd these directly from some Stampin’ Success magazine with some small modifications. But that’s what the magazine is there for, right? Hey – I’m a working mom now! I didn’t have time to wait for the creativity to flow that week… 🙂
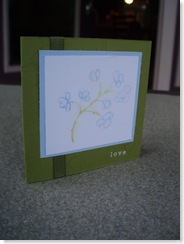
I did two small 3X3 cards to demonstrate some techniques using Stampin’ Pastels (’cause that’s what was featured in Stampin’ Success last month…).
The first card is simply colored directly with pastels and Q-tips.
The second little card uses the Poppin’ Pastels technique (stamp image in Versamark ink and use a Q-tip to rub the pastels on top of the stamped image). This card was also a make-and-take.
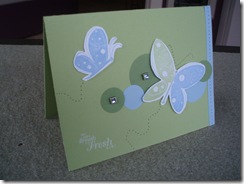
I also demonstrated how to use Blender Pens to color with pastels:
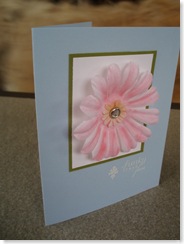
How to use pastels directly on accessories like the flowers in the Pretties Kit:
And how to use pastels on top of white embossing powder:
I also demo’ed how to use pastels on the edges of cardstock to create an aged effect:
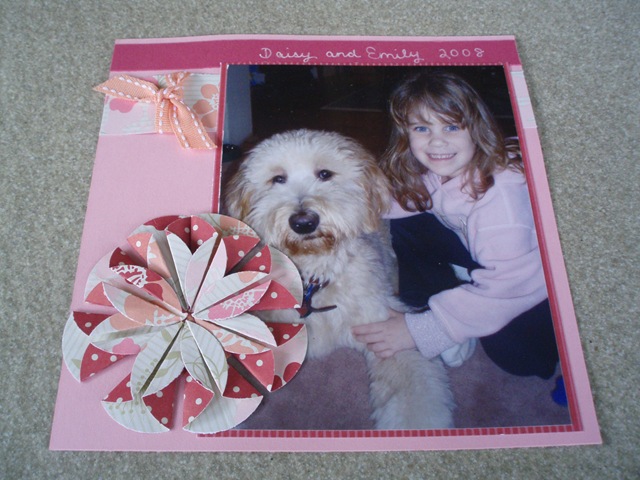
I demonstrated a scrapbook page featuring a flower made with the dahlia fold that was featured on SplitCoastStampers:
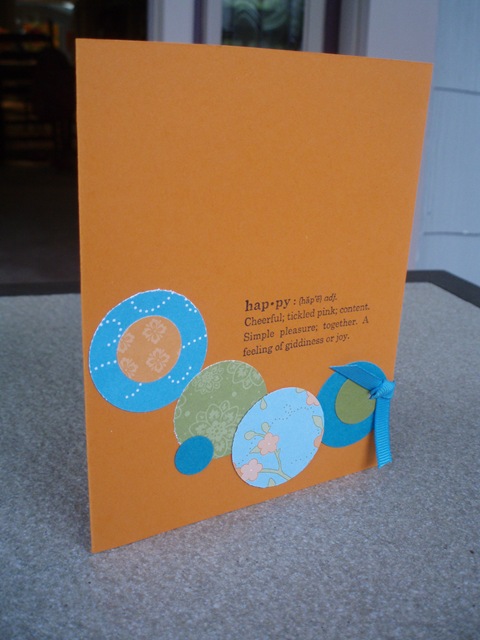
And I showed two cards that were similar to the template featured in Stampin’ Success (I know, I know…I was lazy!).
The card on the left I used as a make-and-take because it is a simple, quick and easy card to make. It’s especially nice because you can use up all of your patterned paper scraps – just punch out circles of varying sizes and make up your own design.
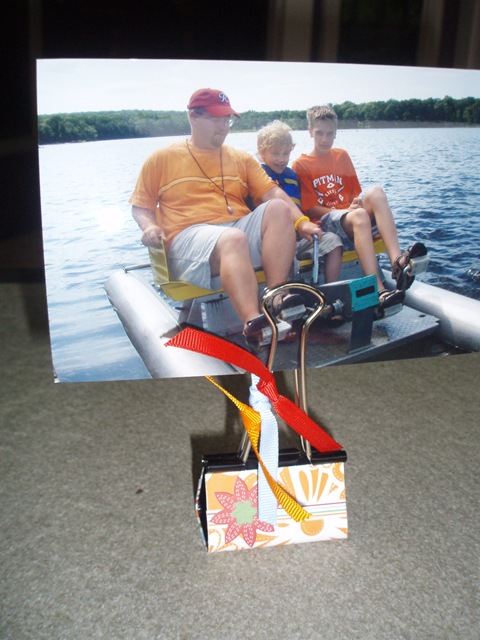
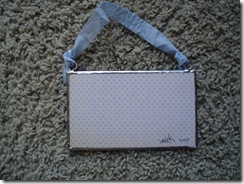
Finally, I CASEd yet another project idea from SplitCoastStampers (sorry – I’m not sure who was the very first person that came up with this idea, but I know for sure that it wasn’t me) – embellished binder clips. You can find lots of these in the SplitCoastStampers gallery. I did this as a make-and-take too:
This is another quick and easy project. Start with any size binder clip and cut a piece of patterned paper to fit around the outside. For these, I used paper from the Summer Days Simply Scrappin’ Kit. Then I just added some stickers from the same kit and a few pieces of coordinating ribbon for a cute photo holder.
These were a big hit at the workshop – and even though I can’t take credit for these original ideas, I had lots of fun making them and sharing them with others – that has to count for something, doesn’t it?
Posted by Kathy Torrence on May 9, 2008 in
Cards,
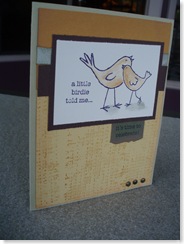
Crafts I finally had a chance to play in my craft room this morning – good thing, because Emily and I had several cards to make!
I used the "Peas Be With You" kit from Paula’s Kit Club that I received back in MARCH and haven’t had a chance to play with yet (time certainly does fly, doesn’t it?).
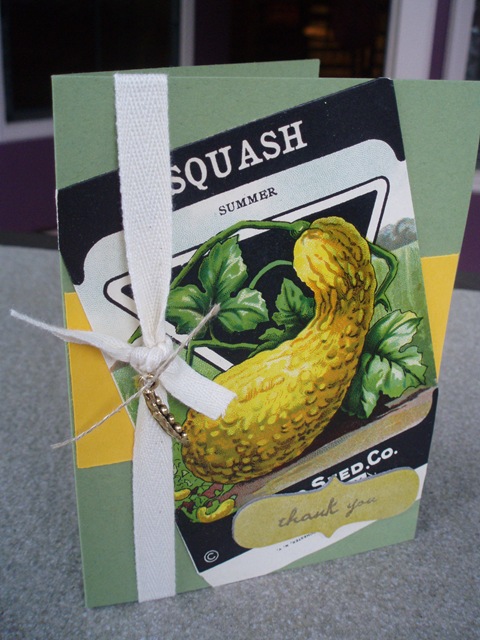
I wanted to make a thank you card for my friend Linda who not only gave me some wonderful birthday presents, but was also kind enough to let Emily and I stay with her in Florida for the weekend last month. I also wanted to make a card for her friend Judy to thank her for her kindness on my birthday as well.
NOTE – If Linda and/or Judy are reading this, don’t read ahead unless you want to see your cards before you receive them!!!
So here are the cards:
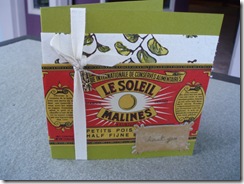
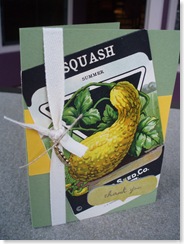
The top card uses a vintage veggie can label and the bottom card uses a vintage squash seed package. Paula included some adorable little veggie charms in her kit (her kits are so fabulous!) and I have a little asparagus on the top card and some peas on the bottom card. I used a little chipboard piece on each card and embossed "Thank You" on top.
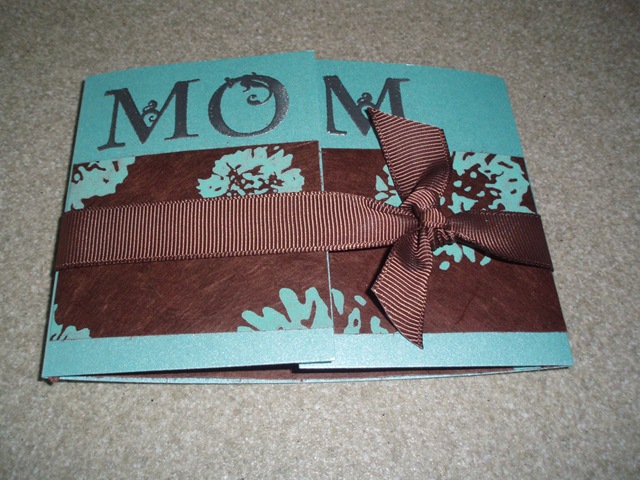
I also made a simple Mother’s Day card for my mom (I know she doesn’t read my blog, so I’m safe with this one):
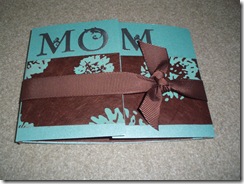
I used the Easter kit from Paula’s Kit Club for this one. I took a gatefold card and added some handmade paper inside and out and tied it shut with a ribbon. I also embossed "MOM" using Stampin’ Up!’s "Lovely Letters" stamp set and silver embossing powder.
I actually considered canceling Paula’s Kits for a while when money was really tight…but it was the one little luxury that I just had to keep. I still look forward to her package every month and hope she keeps them coming for a long, long time!
Posted by Kathy Torrence on May 6, 2008 in
Crafts,
Other items,
Today's Photo Emily had a wonderful birthday party this weekend at Build-A-Bear! I would highly recommend their children’s parties both for the ease of having someone else run the party and the cost as well.
I also thought I’d post a project I did the weekend before Emily and I went to Florida. I did a Stampin’ Up! workshop a few weekends ago – the first one I’ve done in a LONG time!
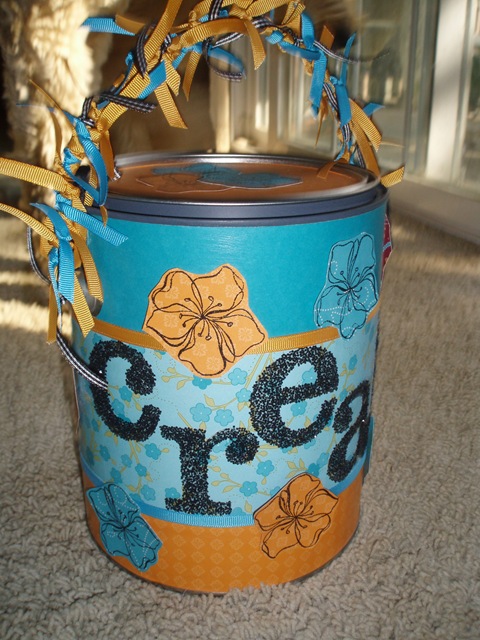
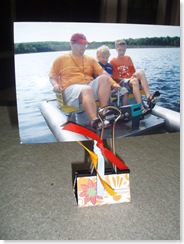
I made a project for the hostess and thought I’d share it with you:
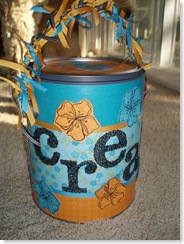
I used the new Bali Breeze double sided paper as well as the Sticky Cuts letters and chunky glitter – I love these colors (the can says "Create" – a great way to be inspired while storing your craft supplies!).
Paint cans like this are a snap to make – here’s a simple pattern to use:
Supplies:
First, start with a new, clean gallon paint can. You can purchase these for under $3 at your local paint store.
Cut three strips of 12X12 patterned paper –
-
One at 1 1/4 inches wide (the bottom strip)
-
One at 4 inches wide (the center strip)
-
One at 2 1/2 inches wide (the top strip)
The strips on this pattern will overlap slightly on the ends – unless you’re incredibly anal about it, just let them overlap – I promise you, no one will notice. 🙂
Apply a thin coat of ModPodge to the back of the bottom strip of paper. Line up the strip with the bottom lip of the can and adhere, allowing the strip to overlap itself on the edges.
Do the same for the center strip of paper, aligning it against the bottom of the handles of the can.
For the top strip of paper, punch two holes with the 1 inch circle punch (a 1 1/4 inch punch will work as well) – punch one hole about 1/4 way into each strip such that the bottom of the hole remains open – this will allow the strip to slide over the handles. Since the strips will overlap, so you don’t have to go crazy lining up the holes – pretty much anywhere on the strip will work as long as you do them both the same way.
Apply ModPodge the same way to the top strip and adhere it against the top lip of the can.
For the lid to the can, measure a circle about the same size as the inside (again – you don’t have to go crazy – a little smaller is fine) and use your circle cutter to cut a circle from the remaining paper. Apply ModPodge and glue to lid.
At this point, you can apply a thin coat of ModPodge over all the top of all the paper on the can. This will make it very durable and give it a nice, even sheen.
After the ModPodge dries, take a thin line of Fabri-Tac and go around the seams between the strips of paper. Apply a piece of ribbon all the way around the seams for a nice, finished edge.
Take small pieces (about 3-4 inches long) of ribbon and tie them randomly around the handle of the can – this is the part that really gives the paint can the "WOW" factor. Don’t skimp – the more ribbon, the more WOW!
Finally, you can take the can and apply whatever embellishments you like – for this can, I took the Sticky Cuts letters and added some black chunky glitter. I also do cans for children’s birthdays and spell out their names with stickers, stamped letters, chipboard…whatever I can find.
Because there is such a huge variety of patterned paper available, you can make a can for any occasion – here are a few ideas to get you going:
Birthday – how about a party in a can? Include candles, party hats, streamers, noise-makers…
Wedding ‘Survival Kit’ – Include clear nail polish, a tampon, hair pins, a Tide-To-Go pen, mints…
Get Well Soon – Include tea bags, a tea cup, tissues, soup, some puzzles and pencils…
Baby – Include a onsie, baby blanket, pacifier, energy bars for mom…
Mother’s Day – Include flower seeds, gardening gloves, a garden journal, garden shears…
I used to do these at craft shows and had great responses.
Let me know if you try this project…have fun!
Posted by Kathy Torrence on Apr 11, 2008 in
Family Stuff,
Knitting,
Uncategorized Today is my last day in Alaska – and I’ve just finally adjusted to the time change.
It’s been a very productive trip, but I’m ready to come home. There is a real lack of estrogen up here – the ratio of men to women must be about 5 to 1. Now…if I were a single woman, this would be a good thing. And I have seen many “Men in Trees” up here. But after spending a week with the same seven men in the same conference room…let’s just say I’ve heard enough hunting and fishing stories to last a lifetime. I am a real animal lover, but kept quiet (a difficult thing for me)until I heard the statement, “I’m such a good hunter, I can actually get the deer to come up to me and let me pet them…” – then I had to chime in, “…before you KILL them??!!”. Like I said, I think it’s time to come home.
I had a chance to drive around last night and see some of the local sites yesterday afternoon. The mountain views are spectacular – I even got to see a moose by the side of the road. I am also very impressed with the local food – two nights in a row, we went to the Glacier Brewhouse and had fresh halibut and king crab legs – yum! I also had a creme brulee in a bowl the size of a small casserole dish – so much for watching my weight!
I also had a chance to do a little bit of shopping – I picked up some souvenirs for the kids. But while I was at the local mall, I walked right in on an actual fist-fight between two young girls – very ‘Jerry Springer’. I had to go to the mall to pick up some boots because Anchorage had an ‘unusual weather phenomenon’ for April – 6-12 inches of snow! They even allowed the federal employees to go home early – they even close for snow in Alaska, apparently. But the snow totally threw off my pre-packed wardrobe and I had to improvise. Can I put those boots on my expense report?
I also stopped by the Qiviut Knitting Store right around the corner – I was hoping to pick up some of their unique yarn made from the undercoat of the arctic musk ox – but for a small skein, it was $80! A little too much for me…
Well…it’s back to the office this morning, then back to the East Coast on the red-eye…