Stamp Club Projects
At our last stamp club meeting, I demonstrated the ‘reflection’ technique using a piece of acetate (AKA – an overhead transparency). My friend Denise mentioned that she has a whole stock of acetate sheets at home – I promised her that this month’s stamp club would give her some new ideas on how to use them. I’m calling it “All About Acetate”!
Note: If you are attending my stamp club meeting tomorrow night and want to be surprised with the projects, read no further! 🙂
First, I’m going to show a simple make-and-take acetate card. Here’s the project they will be making:

To make this card, we’ll take a sheet of acetate and fold it in half, stamping the swirls with white StazOn ink. Then we’ll stamp the tree image onto the smallest piece of paper. We will adhere the paper to the front of the card, then adhere a slightly larger piece of paper behind it to the OTHER side of the acetate – this way, no adhesive will show. Next, we’ll add a slightly larger piece of paper to the right side of the open card as a place to write a greeting. Finally, we’ll add an even slightly larger piece of paper to the very back of the card – again, to the other side to hide the adhesive.
I am also going to demonstrate the ‘acetate and tissue’ technique with this card that I’ve posted before:
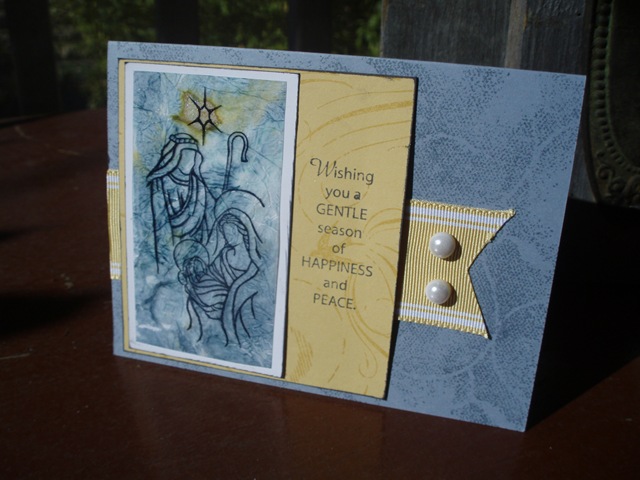
For this technique, stamp your image onto a piece of acetate with StazOn ink. Then on the reverse side, add some color with a few drops of re-inkers, then coat the back with Crystal Effects. Rub it around with your fingers, then add a little glitter, if you’d like. Apply a piece of crinkled tissue paper on top of the glue/ink mixture and allow it to dry. Then trim the tissue paper and adhere to your card.
Another way to use acetate is with the “smackin’ acetate” technique. Here’s the card I’m going to demonstrate:
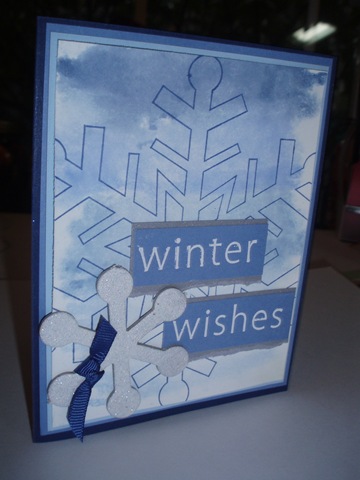
For this technique, take your acetate and scribble on the back with several colors of markers. Then spritz the acetate with water and press onto a piece of neutral colored cardstock. You’ll get a nice watercolor background. You can keep the acetate on top, or just stamp right on top of your background as I’ve done here.
You’ll notice that I’m using a lot of blue for Christmas this year – I’m just trying to branch out from the usual green and red. In fact, I’m also going to show this little purse I made out of a Stampin’ Up! tin:
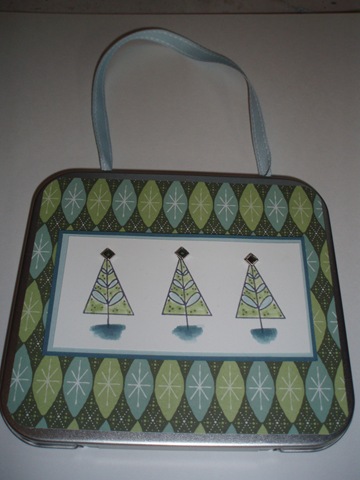
The Crop-A-Dile is great – it just punches right through so I can add a ribbon handle!
Anyway, back to acetate. I am also going to demo this card:
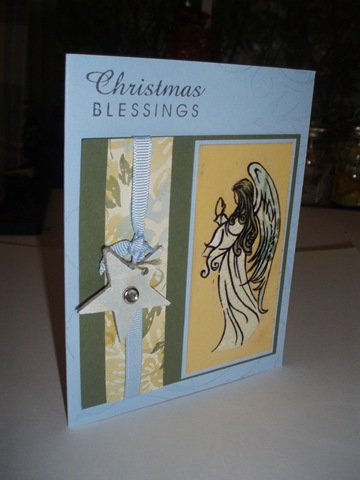
If you look closely, you’ll see that the angel is stamped on acetate and her hair, robe and wings are each made up of different patterns. To achieve this effect, I stamped the angel on several different types of patterned paper in addition to the acetate. Then I carefully cut out the different pieces from the patterned paper and adhered them behind the acetate, lining up the pieces. Here’s a hint – stamp the patterned paper on the REVERSE side so that you won’t see the stamped lines under the acetate. To get the pieces to stick to the acetate, I ran the acetate angel through my Xyron machine. It’s kind of a interesting, stained glass look, but with patterns instead of solids.
Here’s another way to use acetate – “magic cards”. On these cards, the image stamped on the acetate is black and white, but when you pull it up, it appears to be colored in.
Here’s my sample with no color:
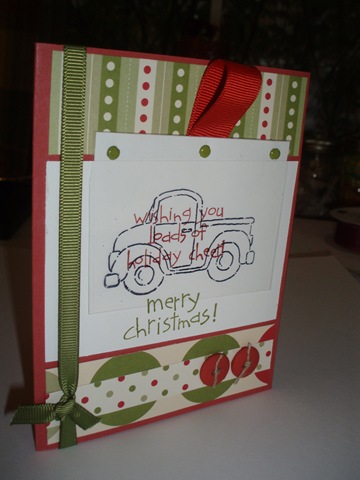
The sentiments are stamped behind the clear acetate panel with the truck. When you pull it up…

The truck is colored in. To achieve this look, you stamp the truck twice – once on the acetate panel and again on a neutral cardstock. Color in the image on the neutral cardstock and place another piece of cardstock between them to hide the colored image, attaching the acetate and colored image at the top. When you pull the piece, the acetate will lay on top of the colored piece (make sure they line up), coloring it in like magic!
For a second make-and-take, we will make a Christmas ornament using acetate. The make-and-take will be a simplified version of these:
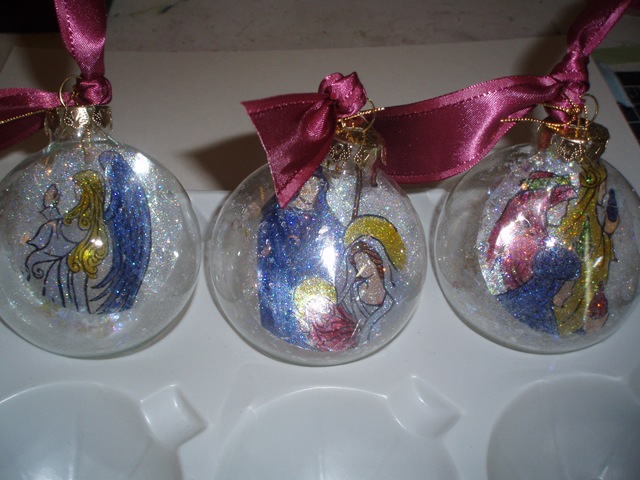
The first step is to stamp your image onto a piece of acetate using StazOn ink. Cut the image into a circle slightly smaller than the ornament (I used a Coluzzle for this step). Next, color in the reverse side of the image with permanent markers (I recommend Sharpies). You can stop here, or for a little extra bling, coat the back of the image with a thin layer of Crystal Effects and sprinkle on a little Dazzling Diamonds glitter.
After the glue has dried, roll the image into a tube shape and insert it into the ornament. If your acetate circle is small, punch a hole in the top of the circle and tie it to the top of the ornament with some ribbon or cord to keep it from falling over.
You can also add a little glitter, snow or whatever other embellishment you’d like inside the ornament.
Here’s another idea for these glass ornaments…fill them with rolled patterned paper! Just roll the paper around a pencil and insert the rolls into the ornament:
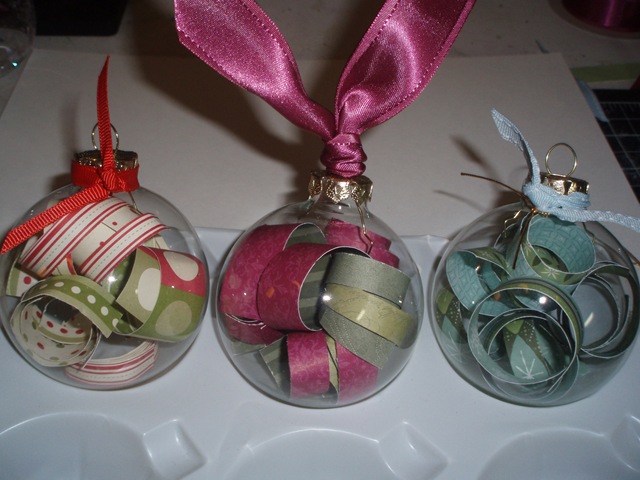
How fun and easy is that?!?! I think I’m going to make a centerpiece with these for the holidays this year.
Slightly off topic, but another easy ornament idea – take a foam ball and some pins and tack in small pieces (1″ X 2″) of paper folded into points:
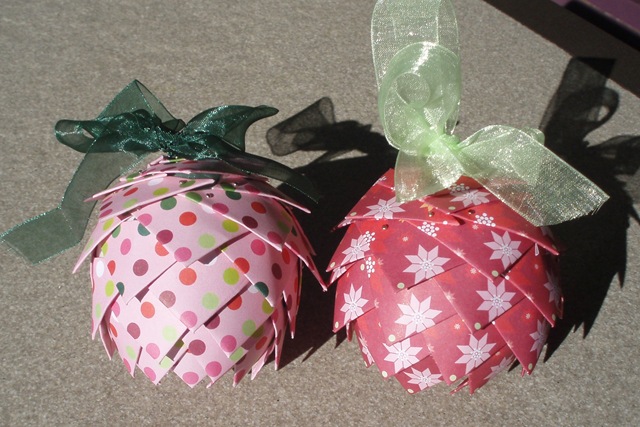
The result is an ornament that kind of resembles a pinecone – a great project for older kids, too!
Okay – one more acetate project…here’s the last make-and-take:
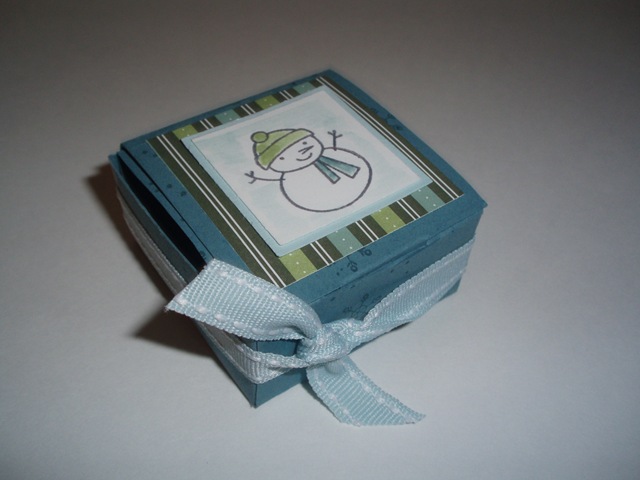
It’s this adorable little box – perfect for party favors! This box is really tiny – only about 2″ X 2″ – and on the inside:
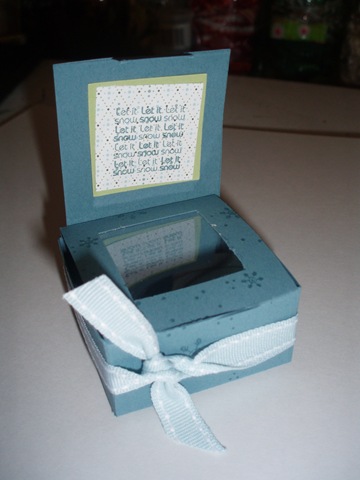
Is a little acetate peek-a-boo window to show off the treasures! I got this template from SplitCoastStampers’ user Qbee – here’s a link to the thread with the box template.
And here’s another version that I made:
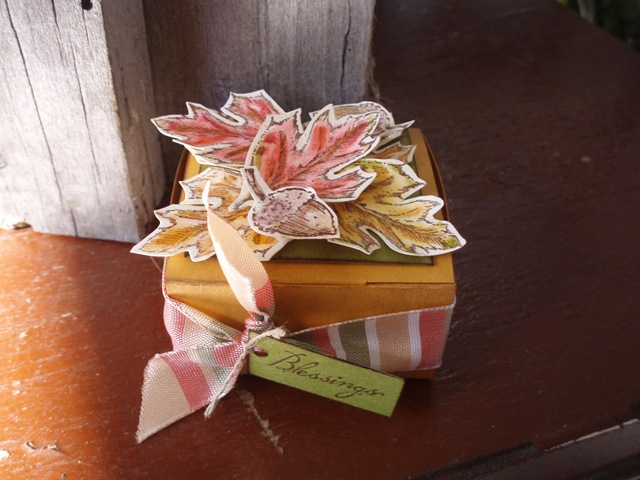
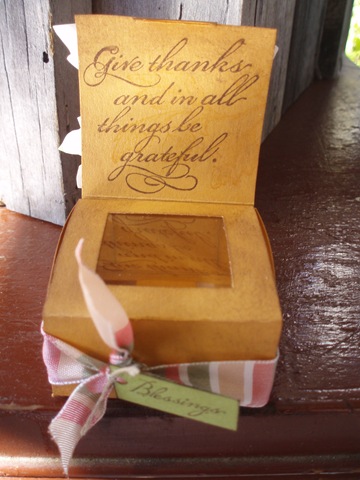
How cute would this be as a place card for Thanksgiving?
Whew! That’s a lot of projects to show – I hope we’ll end at a reasonable time this month – and I hope everyone enjoys the projects, too!
