Posted by Kathy Torrence on Nov 25, 2008 in
Cards,
Crafts,
Today's Photo I still have quite a few of these new cards left after my ‘crafting frenzy’. Unfortunately, turnout at the ‘Shop til You Drop’ event was not quite as I’d hoped. I put a LOT of effort into this event! The good news is – I’ve got lots of cute holiday crafts to display this year and a WHOLE bunch of cards just ready for any event that comes up (and I got a fantastic chair massage while at the event, too!).
So here’s a card CASE’d just about directly out of the Holiday Mini Catalog:
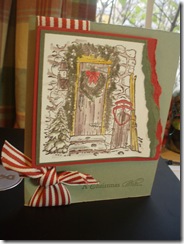
I had fun watercoloring this one – and I was thinking of using it as my holiday card this year.
A few more cards that were almost totally copied right from Stampin’ Up! promotional ads:
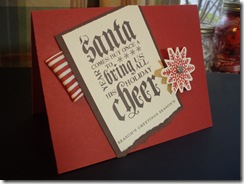
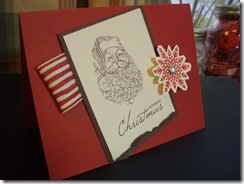
Love those holiday rub-ons!
Posted by Kathy Torrence on Nov 23, 2008 in
Cards,
Crafts,
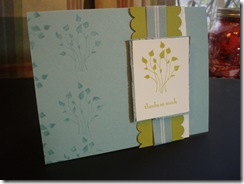
Today's Photo Here’s today’s card:
Posted by Kathy Torrence on Nov 22, 2008 in
Cards,
Crafts,
Today's Photo Here’s today’s card:
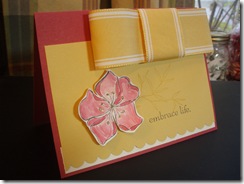
Posted by Kathy Torrence on Nov 21, 2008 in
Cards,
Crafts,
Today's Photo Here’s today’s card:
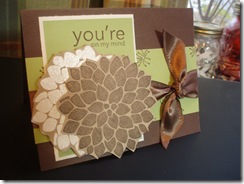
White flower is embossed with white embossing powder.
Posted by Kathy Torrence on Nov 20, 2008 in
Cards,
Crafts,
Today's Photo Here’s today’s card:
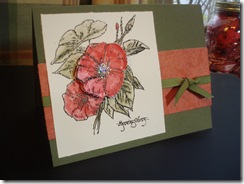
Center flower is raised with dimensional adhesive and has Dazzling Diamonds glitter in the center. Watercolor crayons were used and image is embossed with black embossing powder.
Posted by Kathy Torrence on Nov 19, 2008 in
Cards,
Crafts,
Today's Photo Today’s card design:
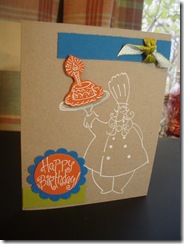
Chef is embossed with white embossing powder.
Posted by Kathy Torrence on Nov 18, 2008 in
Cards,
Crafts,
Today's Photo For my “Shop ‘til You Drop” event, I designed several new cards that I’d like to share with you.
All of the supplies used on these cards are from Stampin’ Up! – if you have any questions about the supplies or techniques used, feel free to comment or email me – I’ll post one a day for the next few days…
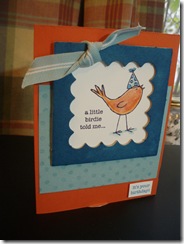
Here’s today’s card:
Posted by Kathy Torrence on Nov 17, 2008 in
Crafts,
Other items,
Today's Photo One more Christmas craft that I created during my ‘craft frenzy’ – a “JOY” Christmas banner.
To create this project, I started with plain cardstock cut into triangles. For the size pennants I used, I cut a piece of 8 1/2 X 11 cardstock into an 8 X 8 square then cut that into four equal triangles (it’s the easiest way I could think of).
I used chipboard letters to spell out the word “JOY” and added snowflakes at the beginning and end of the banner. Because it was so long, I had a difficult time photographing this project – so here are several photos to show different levels of detail:
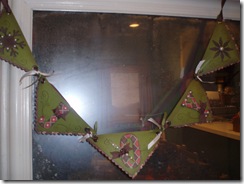
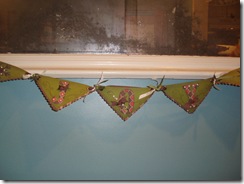
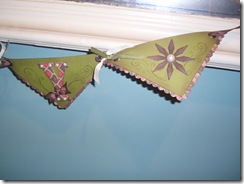
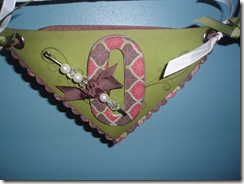
As you can see, I added scalloped patterned paper along the edges and various ribbons and pearls from the Stampin’ Up! Pretties Kit. For an aged look, I covered the letters with patterned paper and sanded and inked the edges. I also used large eyelets to reinforce the holes where the ribbon feeds through.
I think this is SO pretty…I can see hanging it either from a mirror, in a doorway or even on a mantle.
This week I’ll share some of my new card designs with you…
Posted by Kathy Torrence on Nov 16, 2008 in
Crafts,
Other items,
Today's Photo During my ‘craft frenzy’, I created a ‘Christmas Countdown’ that can hang on a wall or mirror. I used one of the new Decor Elements from Stampin’ Up! for this project.
I started with a plain white canvas (literally), and added some Old Olive ink for an aged effect.
After struggling to apply the Decor Elements to the canvas, I finally read the directions and noticed that they are not recommended for textured surfaces such as this. You can achieve the same idea by applying the elements to a piece of smooth, painted wood or even cardboard – but I wouldn’t recommend using a textured canvas for this project.
I am, however, happy with the results – but it took a lot of blood, sweat and tears to get here (well…maybe not blood – but there sure were a lot of sweat and tears as well as a frantic phone call to SU! Demonstrator Support)…
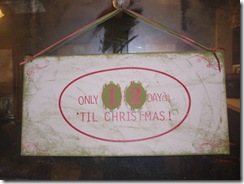
I applied the numbers for the countdown to Old Olive cardstock (which was MUCH easier than the textured canvas!!!!) cut into ovals and backed with scalloped patterned paper. The numbers are attached to the canvas with velcro – and I even adhered an envelope to the back of the canvas to hold the unused numbers:
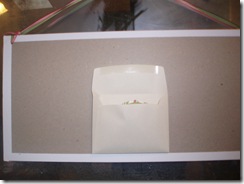
I used my Crop-A-Dile to punch holes in the canvas to string ribbon for hanging. That Crop-A-Dile will punch through ANYTHING!
One more Christmas craft tomorrow…
Posted by Kathy Torrence on Nov 15, 2008 in
Crafts,
Other items,
Today's Photo Today I’d like to show you an idea for a place setting/napkin ring for Thanksgiving using items you already have in your craft room.
For this sample, I’ve actually used a Halloween napkin (again, 90 percent off at Target – it cost me 25 cents) – it’s the right color to show you the idea if you just ignore the bats and Halloween ghouls in the brocade pattern.
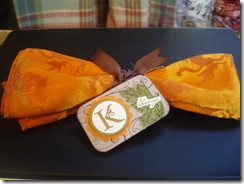
I took a wide brown grosgrain ribbon and tied it around the napkin, then added a Kraft piece of cardstock to use as a tag. I stamped the swirl pattern from the Season of Joy Stampin’ Up! stamp set and inked the edges of the tag.
Next, I used a monogram initial from the Lovely Letters stamp set and embossed it with gold embossing powder. I used a circle punch then layered it onto scallop punch, using dimensional adhesive for some added interest.
I stamped a few leaves onto Old Olive cardstock, attached them to the tag and added the word "Blessings" on top – simple and easy. I think it would also have been cute to add a bunch of twigs under the ribbon (but the weather was not cooperating with me the day I made this – they would have been some very wet branches!).
Here’s another cute place setting idea – using a chipboard ‘frame’, cover the piece of chipboard with patterned paper, add a photo behind and tie a ribbon through the top:
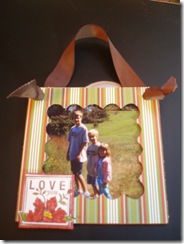
This could act as a place setting if you use a photo of the guest and add his or her initial instead of the stamped image I have here. Or as I’ve made it, this could be a Christmas ornament or other small gift.
How about some more Christmas ideas tomorrow?


