Pearl Ex Techniques
I’m going to be holding a Pearl Ex Technique Class on Sunday, and I thought I’d share some of the info here.
My technique classes are quick and simple – we don’t make any projects; we just go over 4-5 different ways to use the product or technique. Then each person makes a small sample using technique and puts them onto the front of large tags. On the back of the tags, I give each person a set of written instructions for how to achieve the effect on the other side. Then they are putting all the tags onto key rings (given out by me) so that they’ll have all the info available when they’re looking for a technique to use on a project. This is the 5th class in the series.
I have so many customers who have no idea how to use Pearl Ex – and it lends such a beautiful effect to projects! So here are a few simple how-tos.
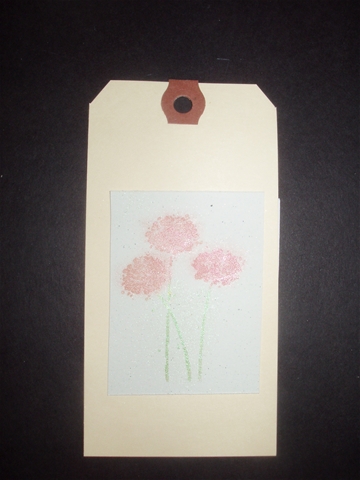
First, a simple way to use it is a technique I call “Poppin’ Pearl Ex” – similar to the “Poppin’ Pastels” technique. To do this, you stamp an image onto cardstock using Versamark ink, then rub the Pearl Ex powder over the image with either a sponge dauber, paint brush or Q-tip. The Pearl Ex powder will stick to the inked image and you’ll get a result like this on white paper (I used an amber Pearl Ex on the flowers and a green Pearl Ex on the stems in this example):
Or a result like this on dark paper:

The image shows up like magic – it’s a really fun technique.
The Versamark ink acts as a fixative – you don’t need to seal the image when using this technique.
Another way to use Pearl Ex is to mix it with embossing powder. For this sample, I’ve mixed blue Pearl Ex with clear embossing powder and applied it to an image stamped with Versamark and heat embossed it:
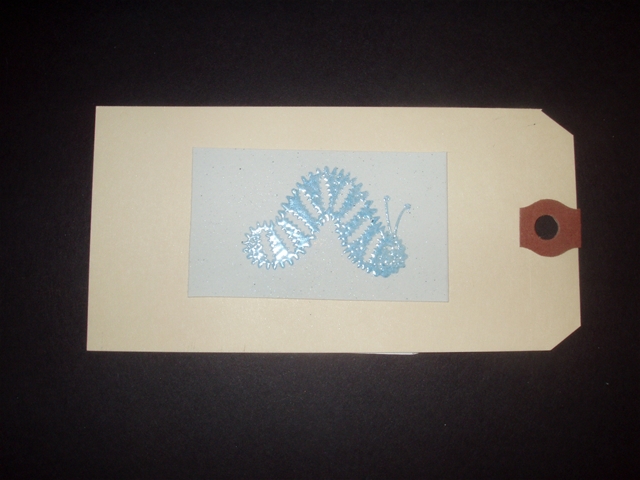
It gives a really pretty pearly effect to the embossed image. Again, the Pearl Ex does not need to be sealed for this technique.
You can also ‘paint’ with Pearl Ex by either mixing it with plain water as I’ve done here:
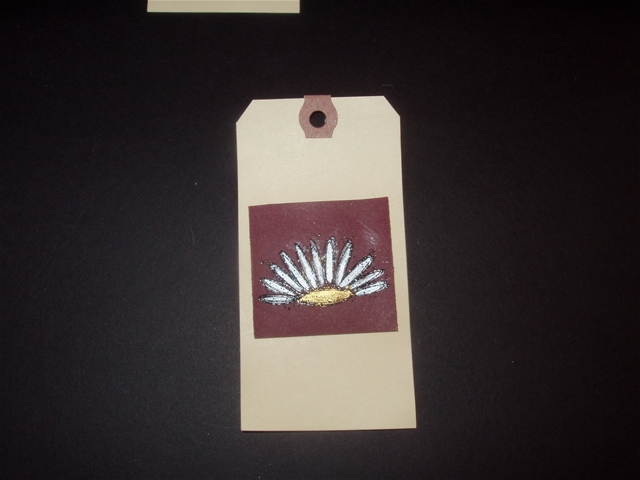
I embossed the image with black embossing powder, then just dipped my damp Aquapainter directly in the Pearl Ex powder and applied it to the image. It looks messy in the photo (I must have some stray powder that caught the camera’s flash), but it looks really pretty in person. In this case, you do need to apply something to adhere the powder to the paper (cheap hairspray works well).
Finally, you can also mix Pearl Ex powder with a paint such as Lumiere and water and apply it with a watercolor brush:

It’s kind of hard to tell in this photo, but the leaf is embossed with black embossing powder and is colored in with a beautiful pearlescent glow (I used green Pearl Ex for the leaf). In a small bowl, I mixed a little bit of Lumiere with enough Pearl Ex until I got the color I wanted. Then I added just a few drops of water to make it easy to paint with. I applied it to the leaf with a small paint brush in small strokes, then set it aside to dry. No fixative required here either – the paint will hold the powder.
I hope my technique class goes well!
Thank you for the tutorial. I have bottles of this stuff that have sat untouched because I couldn’t remember how I had seen them used.
Shelley
TFS! lovely!
Bety