Love Letter Project
I decided to take today off after a busy week and late night last night (but hey – I actually won something at Basket Bingo last night – a Longerberger wine basket complete with a bottle of Merlot!).
So there I was…just innocently watching TV (catching up on all the shows I TiVo’ed) and saw an episode of Carol Duvall that had a GREAT project that I just HAD to try. And I thought I’d share it with you…
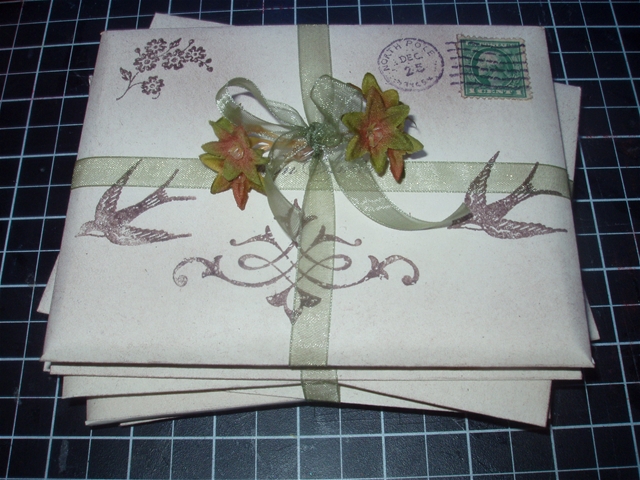
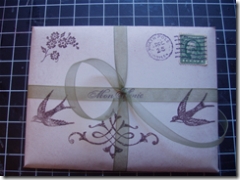
It’s just perfect for Valentine’s Day – the finished project looks like a stack of old love letters tied with a pretty ribbon…
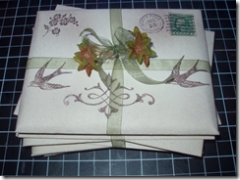
But inside is a little secret…
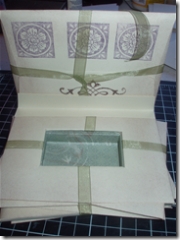
The top is hinged and inside is a little compartment perfect for a small gift or treasure! I adapted the one from the show slightly to make this one.
So here’s how to make it – you’ll need:
- Envelopes (I used 8 Stampin’ Up! medium Naturals Ivory envelopes for this stack plus one for the hinge, but you can use as many and whatever size you’d like)
- Chipboard
- Foamboard
- Craft knife, ruler and cutting mat
- One sheet of patterned paper (I used one 12X12 sheet of SU!’s Enchante paper)
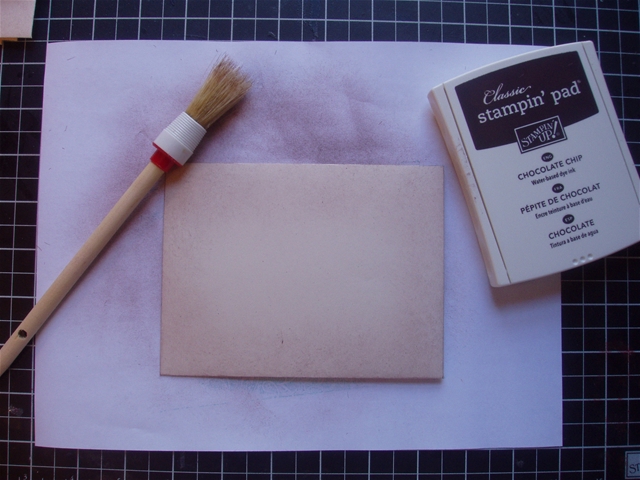
- Stipple brush and brown ink (I used Chocolate Chip from SU!)
- Adhesive and double-sided tape
- Stamps and embellishments of your choice
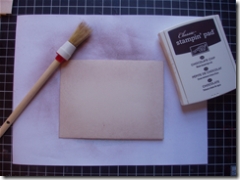
To begin, take each of your envelopes and stipple the edges with ink for an aged look:
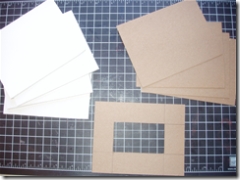
Next, cut pieces of chipboard and foamboard to fit inside your envelopes. I had 8 envelopes and used 4 pieces of chipboard and 4 pieces of foamboard and alternated them when stacking them. If you’re using the medium sized (or invitation sized) envelopes, you’ll cut the pieces to 5 1/2 X 4 1/4 (same size as a standard card).
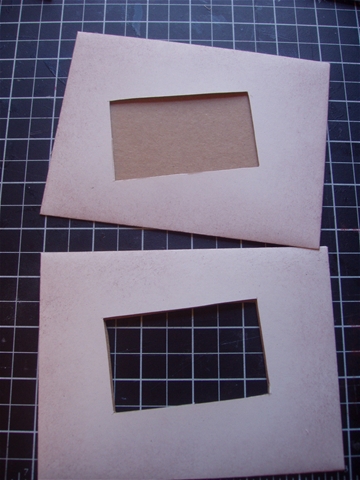
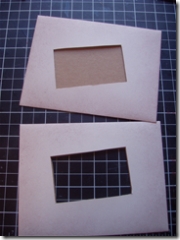
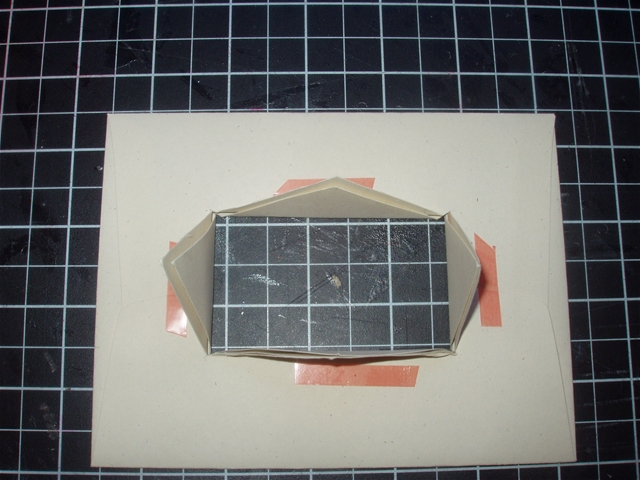
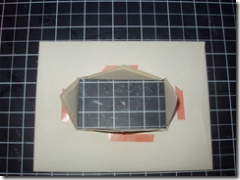
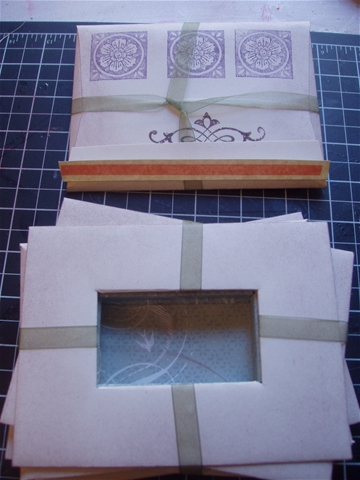
You’ll also want to cut a piece of chipboard to use as a template for the size of your little box inside (the bottom piece in this photo). For this one, I just traced the width of a ruler around all 4 sides and cut out the middle with my craft knife.
Another hint – to make the foamboard pieces more realistic inside the envelopes, trim the edges at an angle so there are no sharp edges.
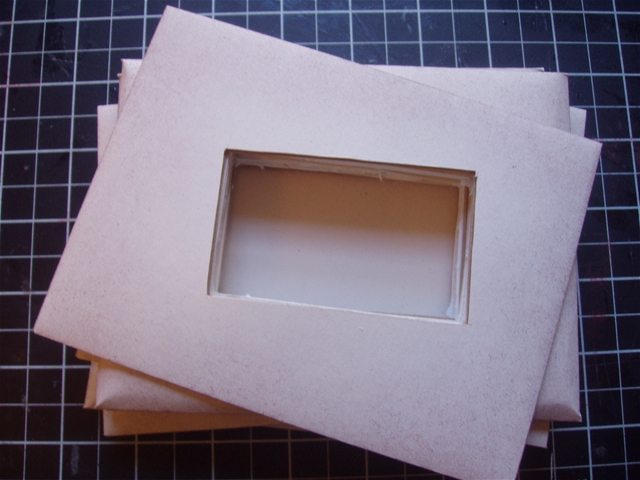
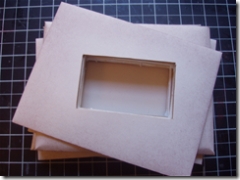
Place the template over all but 3 of the stippled envelopes and cut out the middle sections. It looks nice if you vary the template slightly on each envelope to give the stacked appearance. Place the cardboard and foamboard pieces inside the envelopes and cut them out to match the holes in the envelopes:
Take another stippled envelope and cut across the diagonals of the template in an “X”. Completely cut the center out of a piece of cardboard to match where the template lined up and insert the cardboard inside. Fold the edges back and adhere with double-sided tape so that you get a nice, clean edge on the front. This will be the very top layer under the lid of the box (the photo shows the back side before the folds are taped down.
Next, stamp the front and back of the lid envelope and the back of the bottom envelope as desired. Insert the remaining foam board or chipboard pieces inside the lid and bottom envelopes.
Stack the envelopes with the cut-outs on top of the bottom envelope, lining up the cut sections and adhering each one to the layer below. Do not adhere the top layer (piece with the folded-back edges) yet:
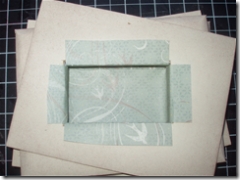
Next we’ll create the lining for the inside of the box. Cut pieces of patterned paper to fit inside and cover the edges, then adhere to the top envelope:
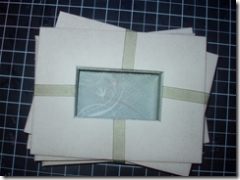
Then place the top layer envelope with the folded edges on top. Cut two strips of ribbon, fold them around the bottom of the box and adhere under the top piece. Adhere the top piece in place:
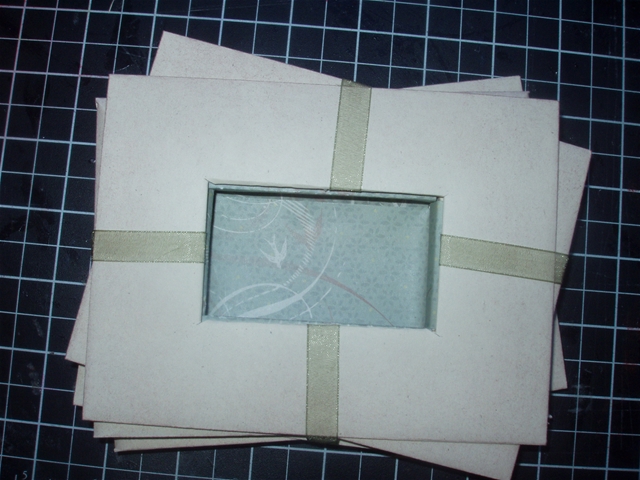
Tie a ribbon around the lid envelope (like on a present):
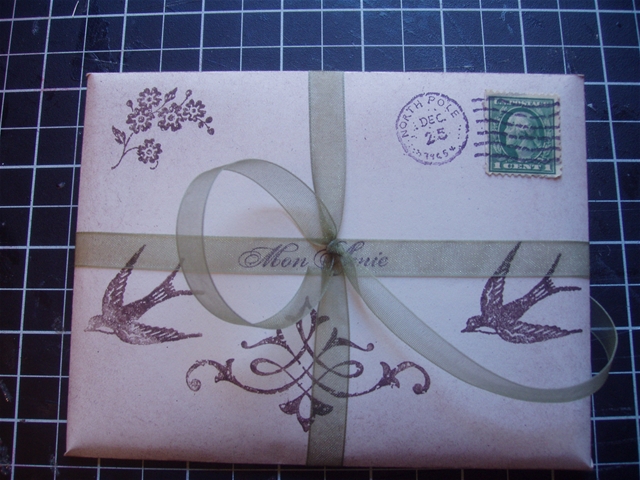
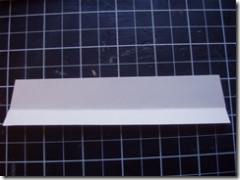
Now create a hinge out of another blank envelope. Cut out the scored and folded piece the envelope:
And adhere this to the lid envelope and box with double-sided tape:
That’s it – when you attach the lid to both pieces, you’re done.
I thought it was a cute and original idea – hope you enjoy!
Thank you so much for the detailed instructions to make this love letter stack. I had seen something like it on a show quite a while ago, and loved it, but never got around to making it. Now I have no excuse. TFS!
Kathy,
Thanks so much for these instructions. I have been trying to sift thru all of the Carol Duvall shows looking for these directions. Now, thanks to you I don;t have to look any longer. Thanks again!
Nancy
[…] posted the instructions for this box in a previous post, but I just made another one for a submission and thought I’d share a few photos with […]
Kathy:
Thank yo so very much for the instructions…I need to get a few crafting materials from the store and then… i’m in letter box heaven….My grandmother will be so amazed!
Thank you for sharing!
Cheers,
Charline