Faux Mosaic Tutorial
Lynn in St. Louis, who coordinates the weekly technique challenges SplitCoastStampers, saw a few cards in my gallery using the faux mosaic technique and asked me to put together a quick photo tutorial for this week’s challenge.
The sad part is, my craft room is SUCH a mess, I had drag my supplies out to do this project on my dining room table (today’s chore is to clean up my craft room – it’s always such a mess after the holidays).
This technique is really easy and there are so many ways to do it – just have fun and be creative with your mosaic! The basic idea is that you create paper ‘tiles’ and use embossing powder as ‘grout’ to create a mosaic that can be used as a background or accent on a card or scrapbook page.
Supplies needed:
- Double sided tape (you can use Stampin’ Up!’s Sticky Strip or the same type of red-lined tape sold in sheets either in the craft store or Pennywise Arts – or even just regular double sided Scotch tape)
- Embossing powder
- Heat gun
- Cardstock and/or patterned paper
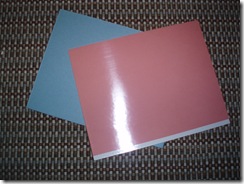
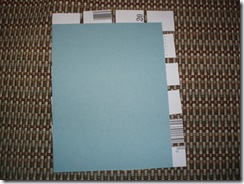
To start, cut a piece of cardstock to size for the base of the mosaic (it doesn’t matter what color – the cardstock won’t show). If you are using a sheet of red-liner tape, cut it to the same size as the cardstock.
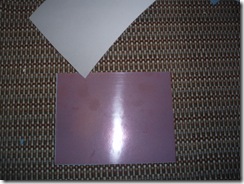
Then peel off the white part of the tape sheet and apply to the cardstock.
If you are using Sticky Strip you can just cover the entire piece of cardstock with strips, removing the white liner for each piece.
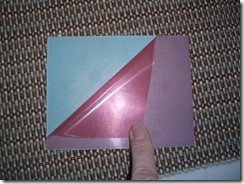
Remove the red portion of the red-liner tape, exposing the sticky side.
If you are using double sided tape, just cover one side of the cardstock entirely with the tape, exposing the sticky side.
Now you have a very sticky piece of cardstock – set it aside (careful not to handle the sticky portion too much to keep it clean).
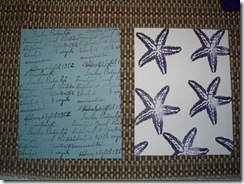
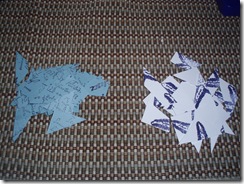
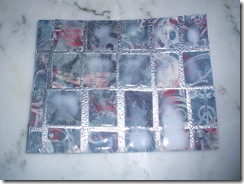
Next, create the ‘tiles’. You can either stamp a piece of cardstock and cut it into randomly shaped pieces:
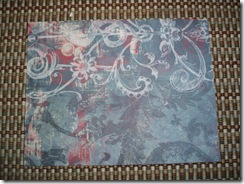
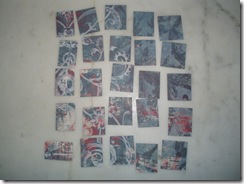
Or…start with patterned paper and cut it into either randomly shaped pieces or similar size squares. If you’re really OCD about your crafts, you can cut the pieces into the exact same shape and size – I’m more free-form with my projects.
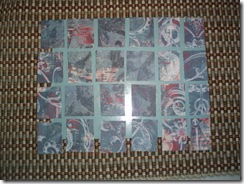
Arrange the pieces onto your sticky paper. This is where you can get creative – you can arrange them into a random pattern or space them evenly…it depends on the look you’re going for. For this card, I was looking for more of a vintage tile wall look, so I kept the pieces mostly the same size and spaced the sort of evenly, but not exactly.
I even overlapped the edge pieces a bit – I just trimmed them off from the back:
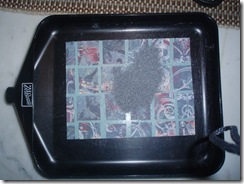
Next, sprinkle embossing powder over the sticky side of the entire sheet. It will settle into the spaces between the tiles, acting as ‘grout’ between them.
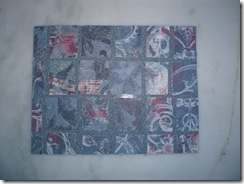
Shake off the excess:
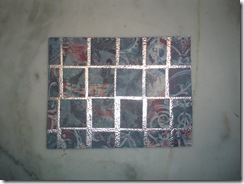
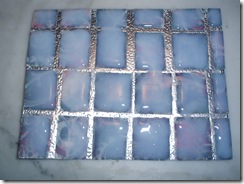
If you want your tiles to be shiny, you can add Crystal Effects to each tile:
But be prepared – this take a LONG time to dry. 24 hours later, and it still looked like this:
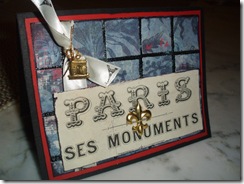
Being impatient (and wanting to show you a completed card), I did another mosaic using black embossing powder instead of silver. Here’s my finished card:
Different colors of embossing powder will give you much different results.
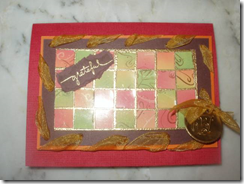
Here’s a card I made using gold embossing powder (the tiles were made of glossy paper colored with ink and a brayer):
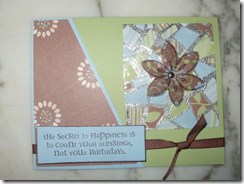
And another one using silver, but with randomly shaped pieces:
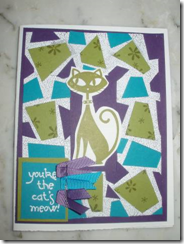
And a much more funky card using plain colored cardstock and white embossing powder:
Thanks for the interest in this technique, Lynn – I can’t wait to see what everyone on SCS creates!
