Posted by Kathy Torrence on Oct 22, 2007 in
Cards,
Crafts I was watching the Carol Duvall show this weekend, and I saw a new paper-folding technique that I just had to try!
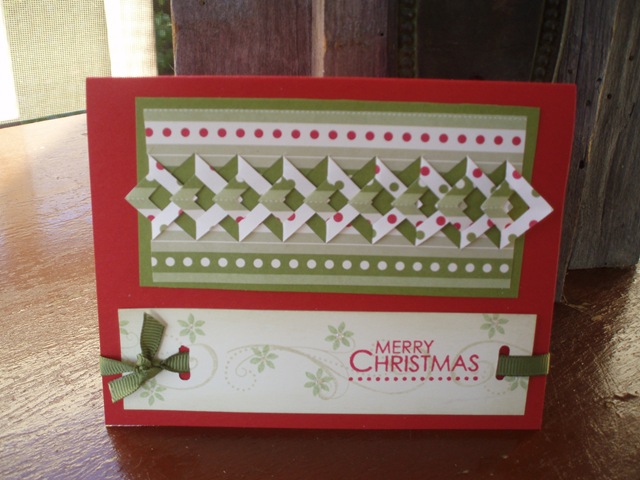
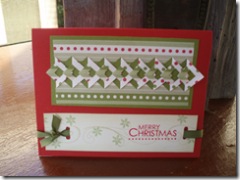
The technique is called Illusion Braiding and results in a wonderful effect – especially with double-sided paper.
Here is a sample used on a card with Stampin’ Up!’s Dashing paper:
And here’s a sample on a bookmark using Stampin’ Up!’s Wintergreen paper:
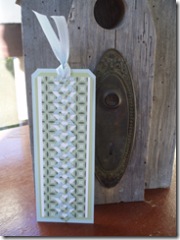
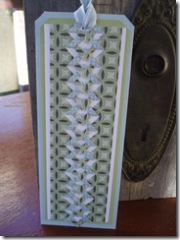
Aren’t they beautiful?
This is not a quick-and-easy technique, but once you’ve developed the template, it’s not difficult to do. You basically take a narrow piece of cardstock and fold it in half, cutting a series of alternating V’s – larger, then smaller. The V’s are then alternately folded to create this wonderful pattern.
Here is a link to the Carol Duvall show episode with a complete tutorial for this technique – you should give it a try!
Posted by Kathy Torrence on Oct 22, 2007 in
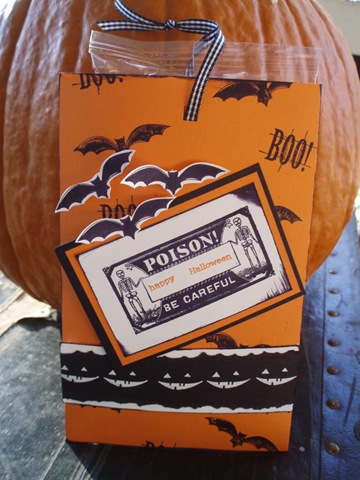
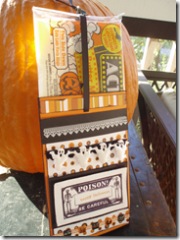
Crafts Here’s a cute idea for Halloween – treat sliders to hold little bags of popcorn or chocolate bars!
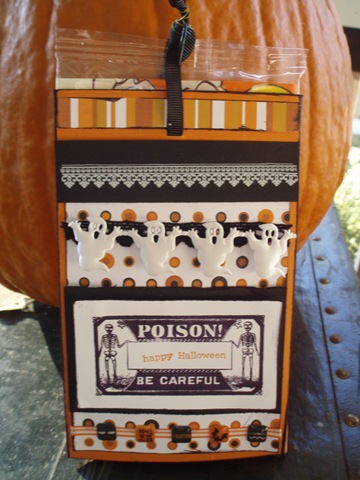
These are really easy to make – here are two samples:

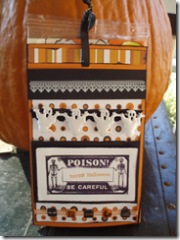
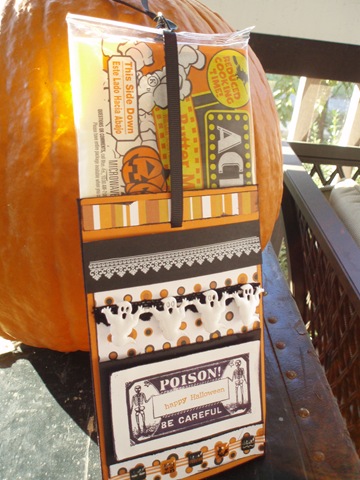
When you pull the ribbon, the popcorn or candy bar slides up:
To make the treat slider, start with a stamped piece of 8 1/2 X 11 cardstock.
Place your treat on the cardstock and mark about 1/4 inch around all 4 sides. Cut the cardstock on the top and bottom and score on the side lines.
Fold on the score lines to wrap your treat with the cardstock (trim the ends if necessary) and adhere. Slide the treat out.
Punch two holes at the top of the slider for the ribbon (one on the front and one on the back). Embellish the front however you’d like.
Cut a piece of ribbon a little more than 2X the size of the treat (add about 5-6 extra inches to tie the knot). Fold the ribbon in half and place the treat on the fold.
Push the ribbon and treat into the slider, then take the ribbons from the inside and thread them through the two punched holes to the outside. Tie in a knot at the top with both pieces of ribbon. When you pull the ribbon up, the treat will come up with it.
This project can be adapted for lots of different holidays and occasions – I think I’m going to make these to hand out to my children’s classes as school. Let me know if you try this project yourself – have fun!