Posted by Kathy Torrence on Sep 23, 2007 in
Scrapbooks I have just a few new scrapbook pages to share…
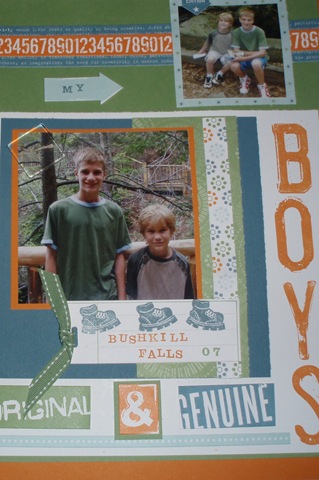
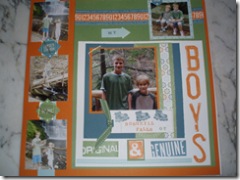
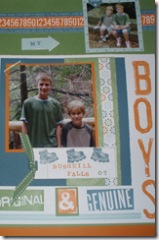
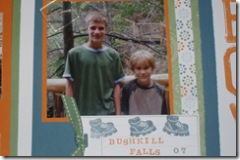
For the scrapbooking workshop I did the other night, I showed this page as an example of using our Simply Scrappin’ Kits – this one uses Creative License (perfect for boy pages!):
You’ll also notice that although this page is a 12X12 size, it also contains an 8 1/2 X 11 page:
And a 6X6 page:
I like to show how you can take other size pages and sketches (even cards) and incorporate them into your own size pages.
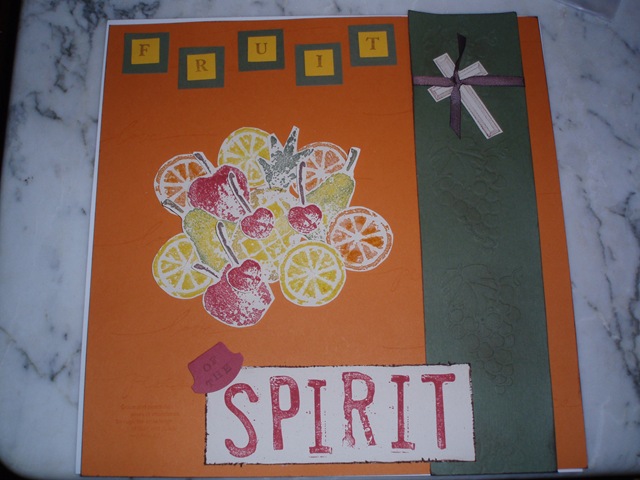
I also made up this page for my Scrapbooking Ministry:
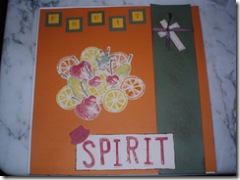
We’re going to do a nine-part Bible study on the Fruits of the Spirit and this will be the cover page for our book.
Posted by Kathy Torrence on Sep 23, 2007 in
Cards,
Crafts,
Scrapbooks I did a scrapbooking-based workshop the other night, and during the demonstration, I focused on ways to use chipboard – one of the current hottest scrapbooking items.
Chipboard is basically a really thick, sturdy cardboard that comes die-cut into shapes and letters. It can come raw, which is just the brown cardboard color or it can come already altered – it’s available in different colors and patterns.
The great thing about the raw chipboard is that you can take it and alter it to exactly match your project. There are a few ways to do just that…
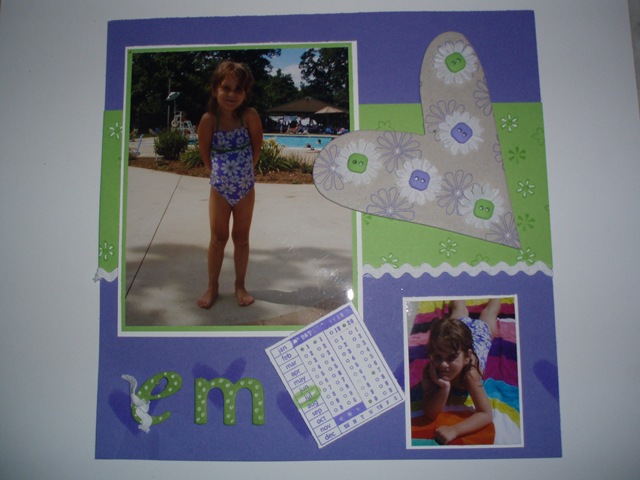
The easiest way to alter chipboard is probably just to stamp directly on it. You can use regular ink and your favorite stamp to make your own matching embellishment as I did on this little scrapbook page:
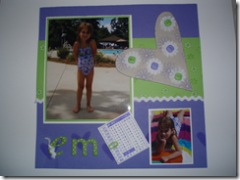
I took the heart shape and stamped on some flowers then added some paper flowers and buttons in colors to match my page (and my daughter’s bathing suit!).
There are also some smaller chipboard letters at the bottom of the page. These are done with another altering technique – inking the chipboard. To do this technique, you just take the letters and either rub them directly onto the ink pad or take a sponge and apply the ink onto the letters.
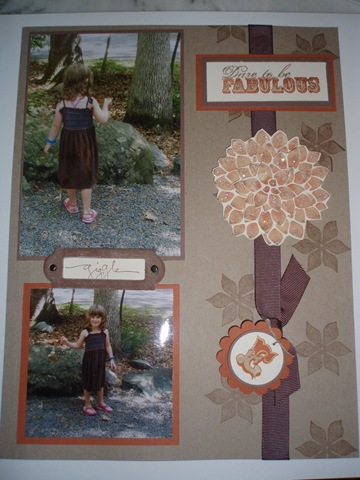
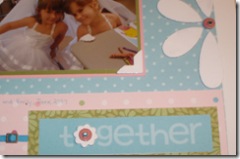
Here’s another example of a page with inked chipboard:
I’ve inked the little chipboard bookplate around the work ‘giggle’ on this page.
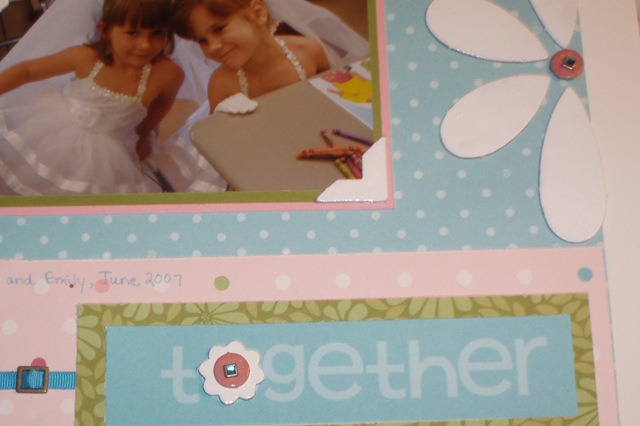
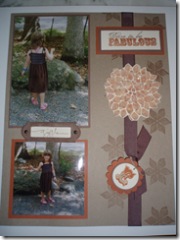
I’ve also shown how to take chipboard shapes and emboss them with embossing powder. You take the shape and cover it with either craft ink or Versamark, depending on the color you’d like on your shape. On this page shown in a previous post, I used Versamark on the flower petals, then embossed with white embossing powder and I used Pretty in Pink craft ink on the flower centers, then embossed with clear embossing powder:
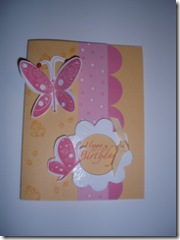
And on this card, I used Versamark and white embossing powder on the flower:
And look at how beautiful these letters turned out shown at the Philadelphia Regional Seminar! These are covered with craft ink followed by clear embossing powder:
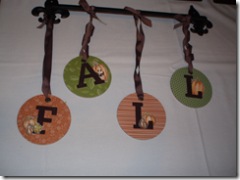
Love that project – I may make it a class next month…
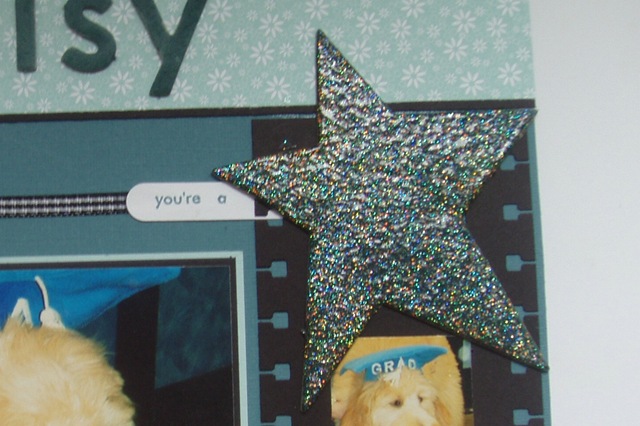
I also showed an example where I kicked it up a little bit more and used craft ink with some Iridescent Ice embossing powder followed by clear embossing powder on this Daisy page shown in a previous post:

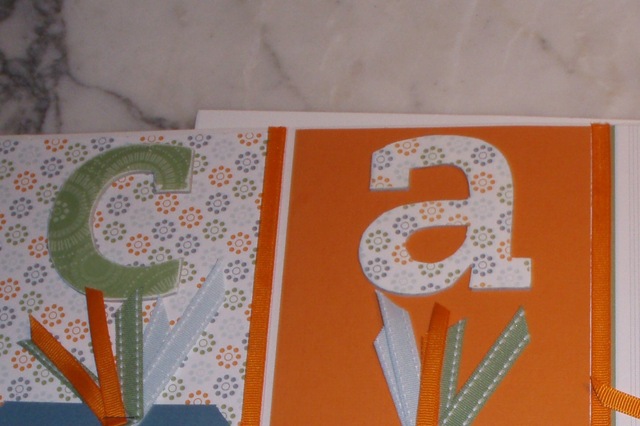
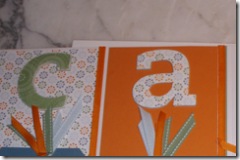
And in a previous post, I showed how to take chipboard letters and cover them with patterned paper. Just apply adhesive to the shape, place it face-down on paper and trim around the shape. It helps to sand the edges after you’re finished for a smooth, clean look. Here are some shapes that I covered with paper:
And one more thing – don’t throw away the leftover pieces! If you look closely, you’ll notice that on the bottom of my “Em” page above, I used the piece of chipboard after I removed the hearts as a stencil at the bottom of the page. I just sponged ink directly over the stencil piece.
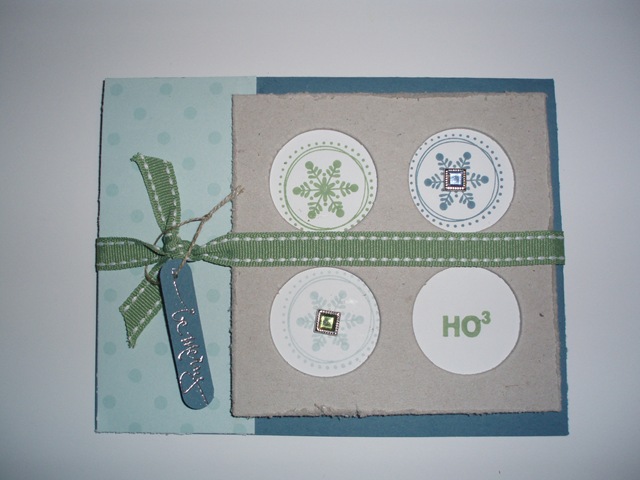
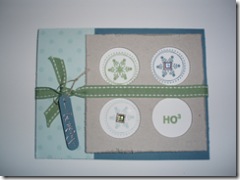
And here’s another example where I used the leftover pieces – on this card, I used the remaining piece of chipboard after punching out the circles:
Hope you this gives you some new ideas on how to use those chipboard pieces you have! 🙂